If you frequently use the same folder structures, measurement groups, or report formats across different jobs, the Templates for Projects feature is exactly what you need. A template acts as a blueprint, allowing you to start new projects with your preferred setup already in place.
You can access and manage all your templates by navigating to your Homepage and selecting Templates for projects from the left-side menu.
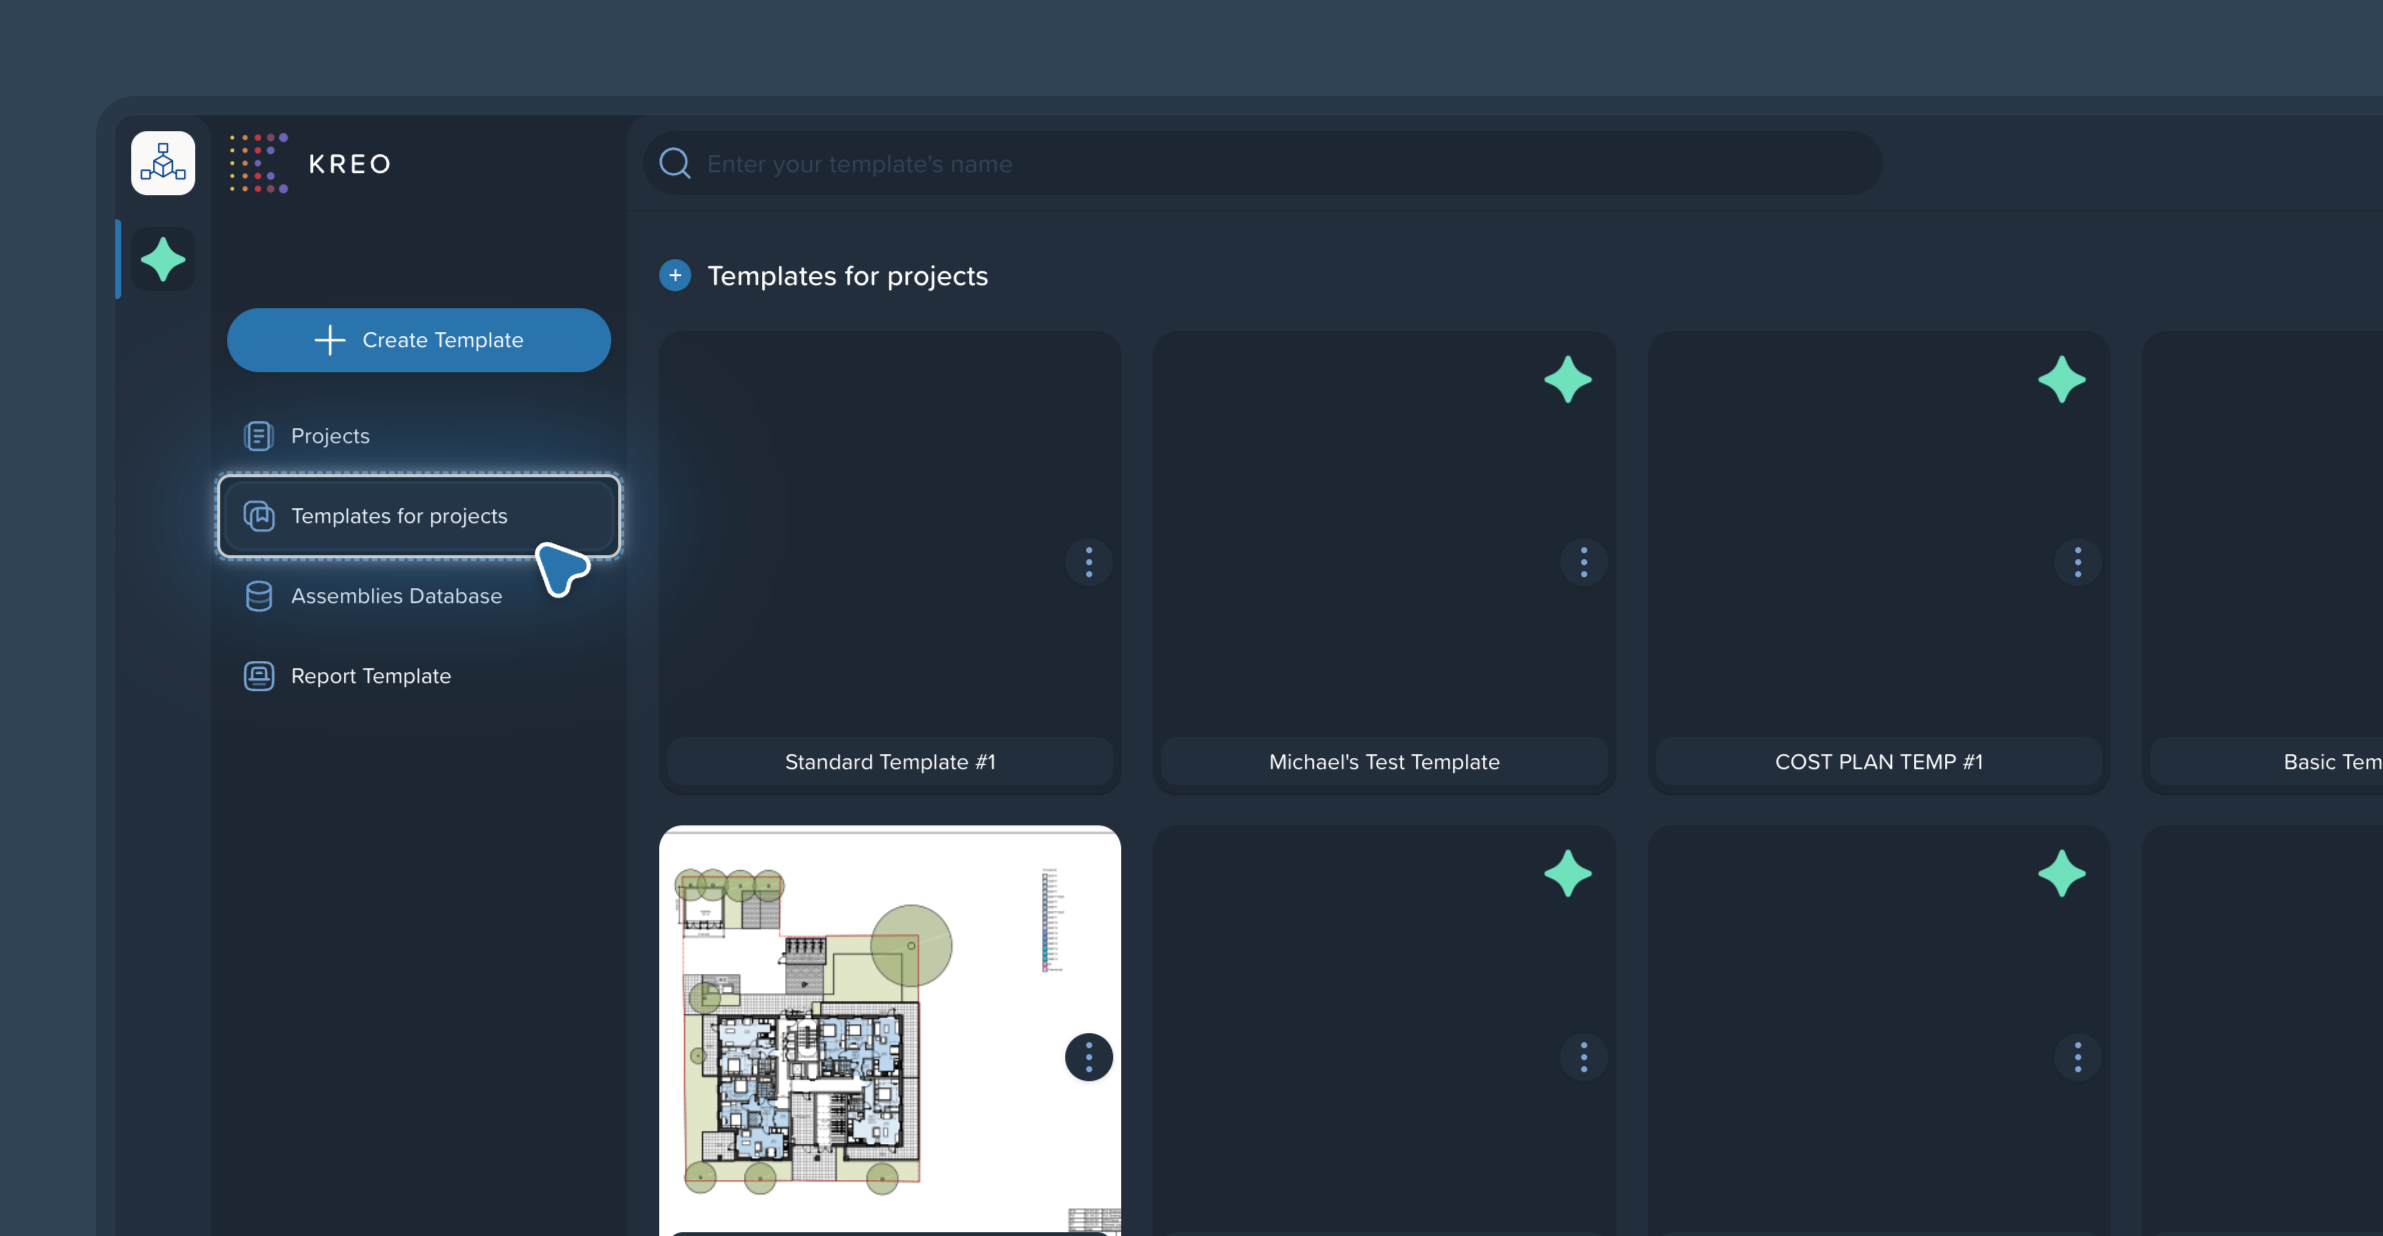
In the Templates menu, click the + Create Template button.
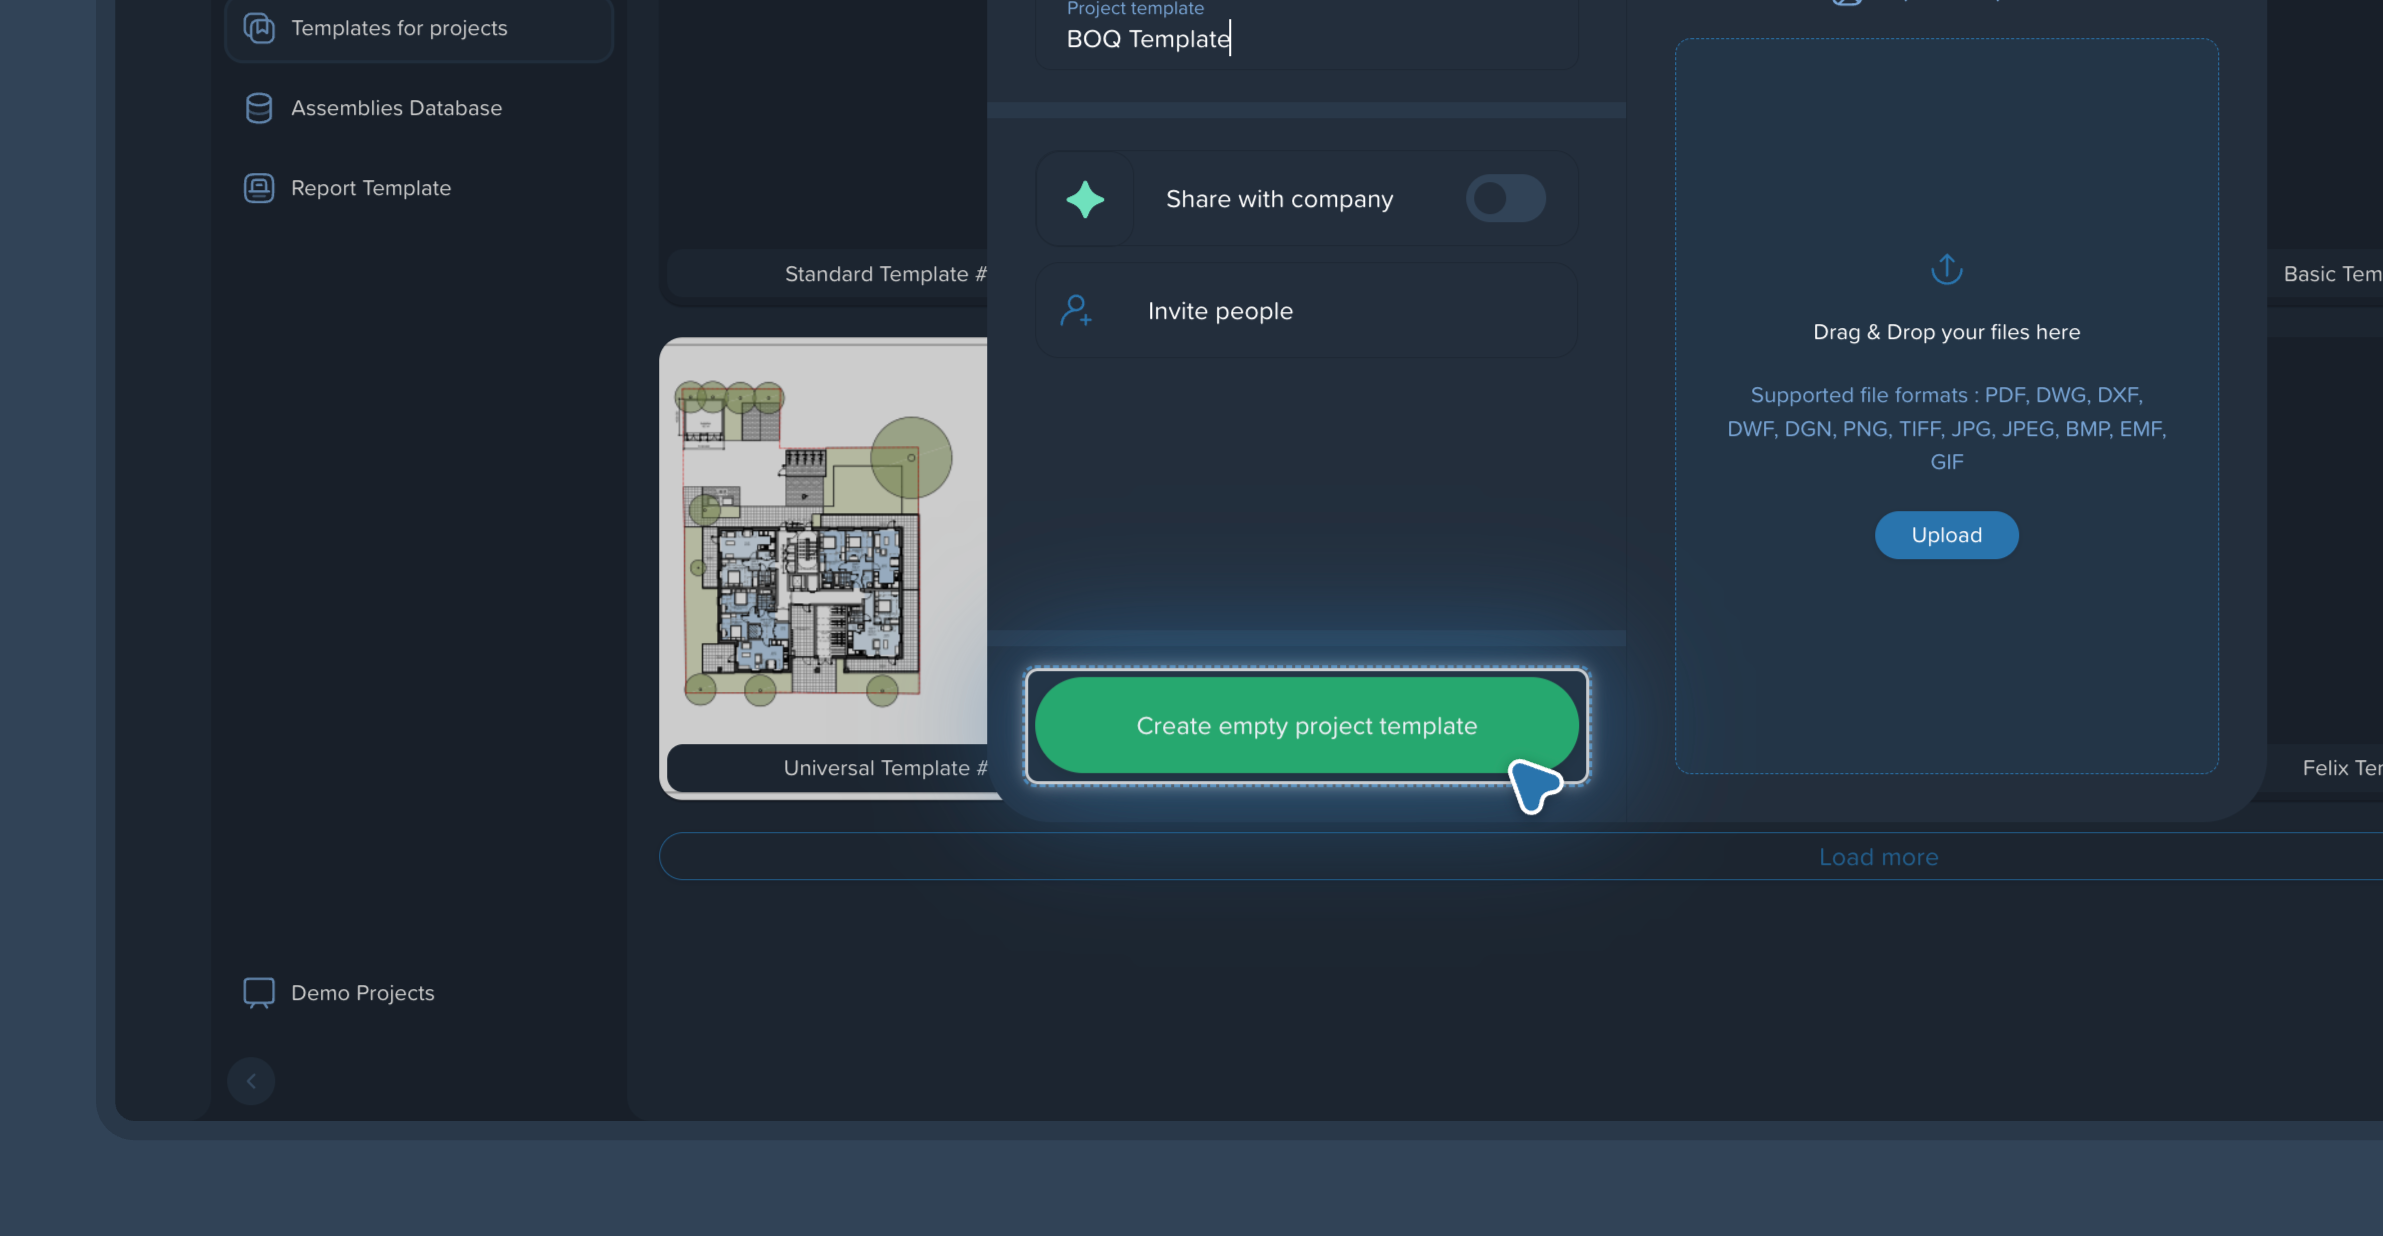
Give your new template a descriptive name.
Click Create empty project template
Important: You do not need to upload any drawings at this stage. It is best to leave the template empty unless you specifically want certain reference drawings attached to every single project created with this template.
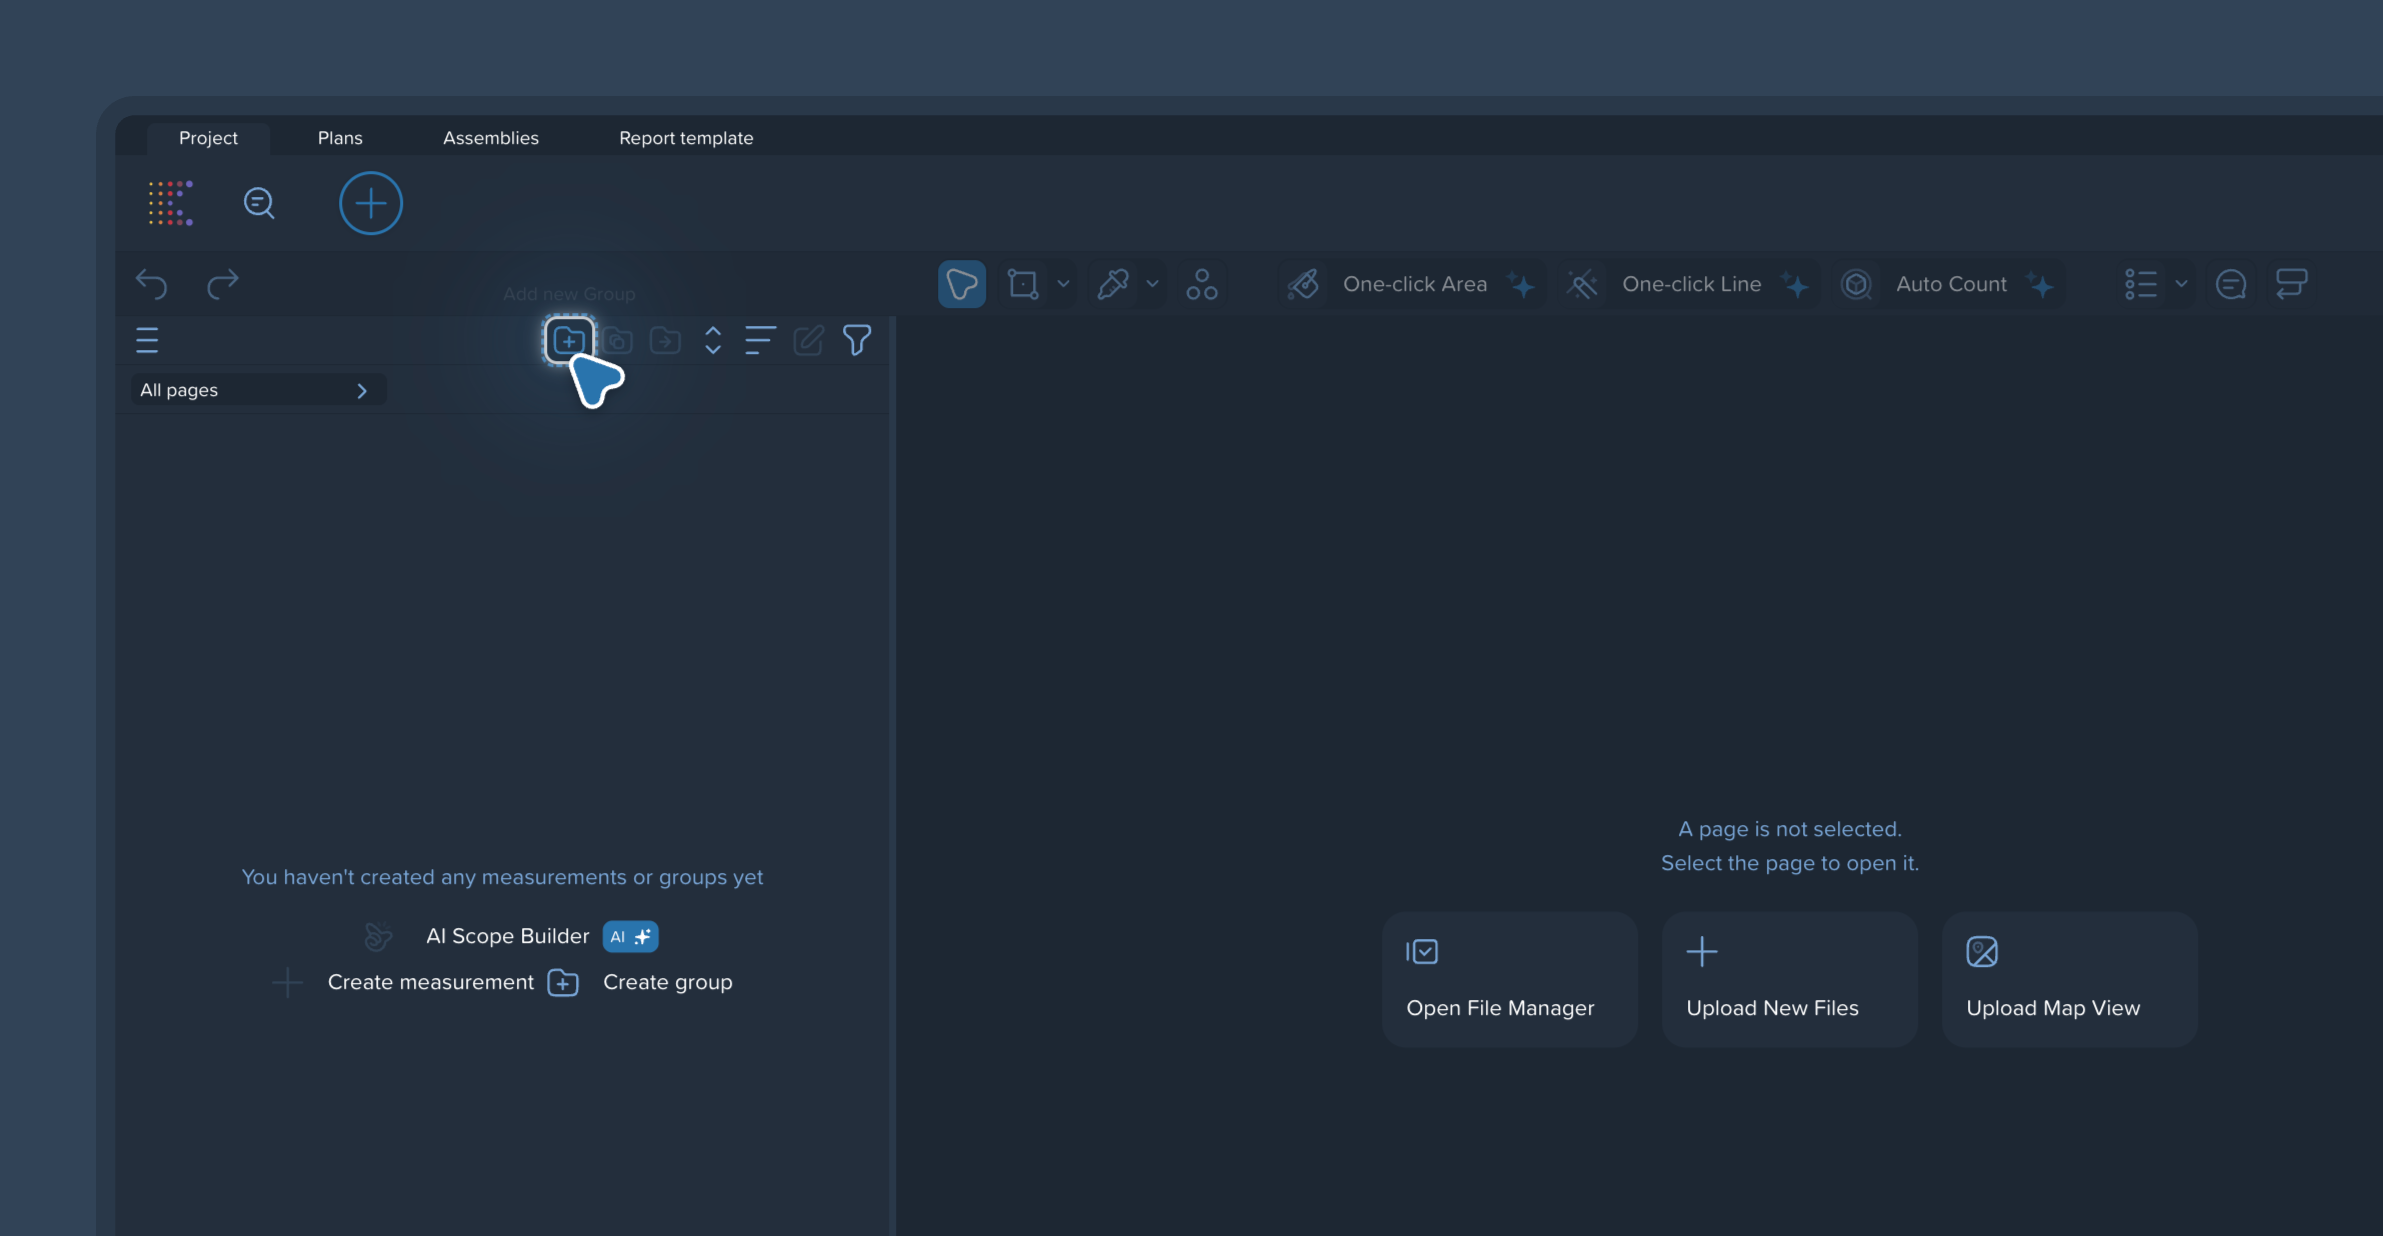
Once created, you will be inside an empty template project. Now, you can build the structure you want to reuse:
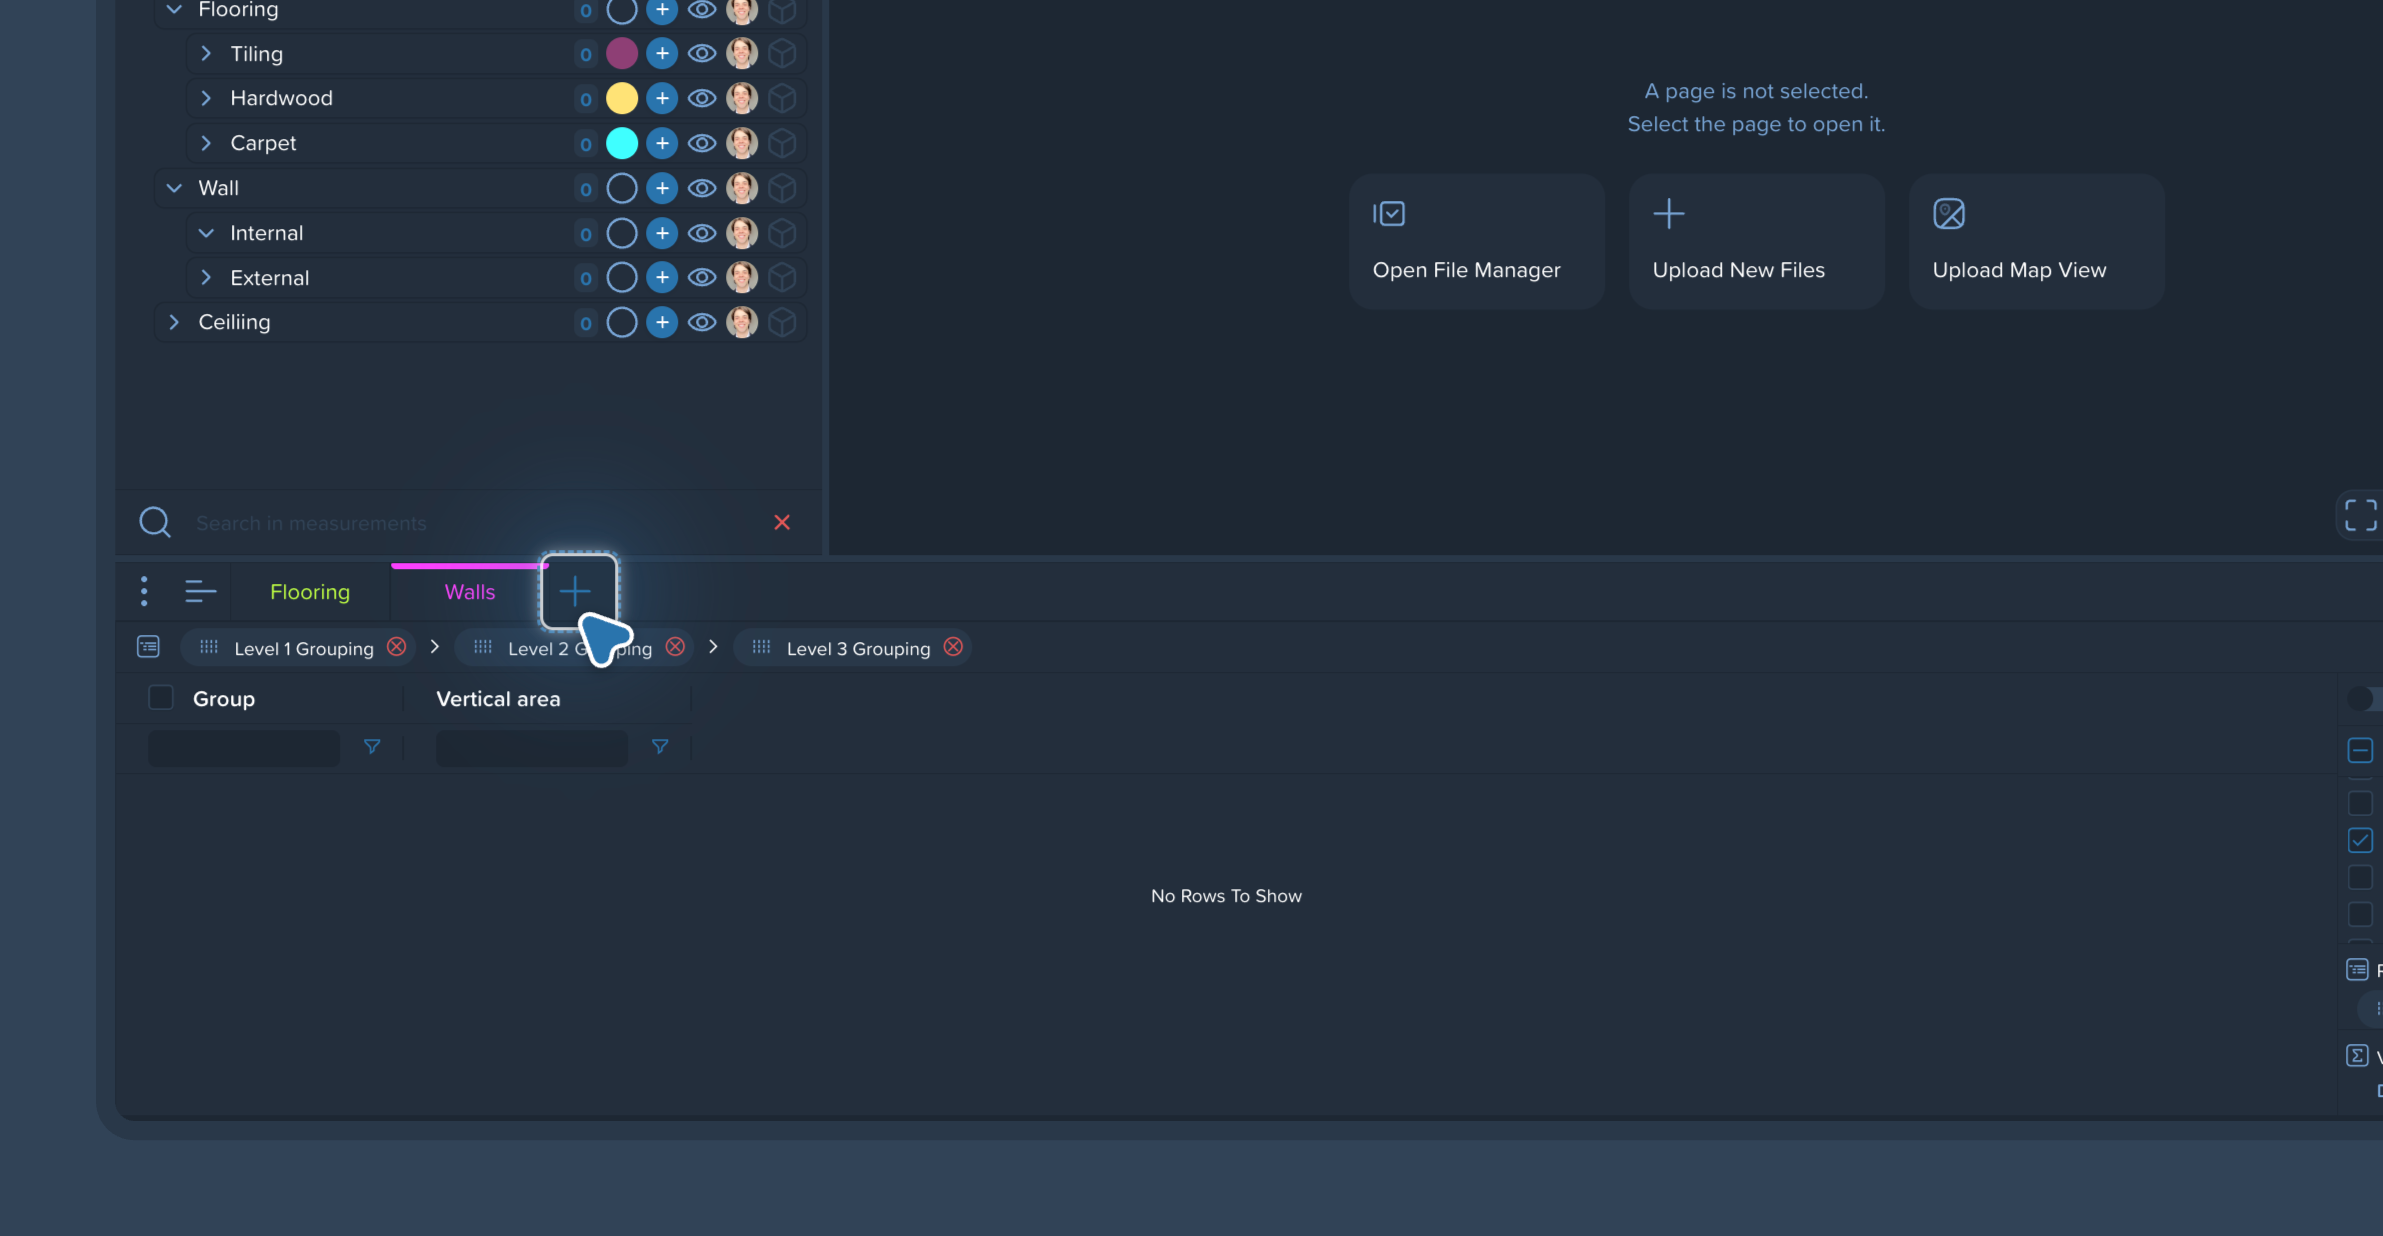
Create Groups: Open the left-side panel and create the standard folders and measurement groups you typically use in your estimates.
Create Report Structures: Switch to the Report tab to set up your standard output. You have two main options:
Spreadsheets: You can create custom spreadsheets and build dynamic 'links' between your measurement groups and specific spreadsheet cells. By linking a group to a cell in the template, this logic is saved. When you use the template later, the spreadsheet cells will automatically update as soon as you add measurements to those groups.
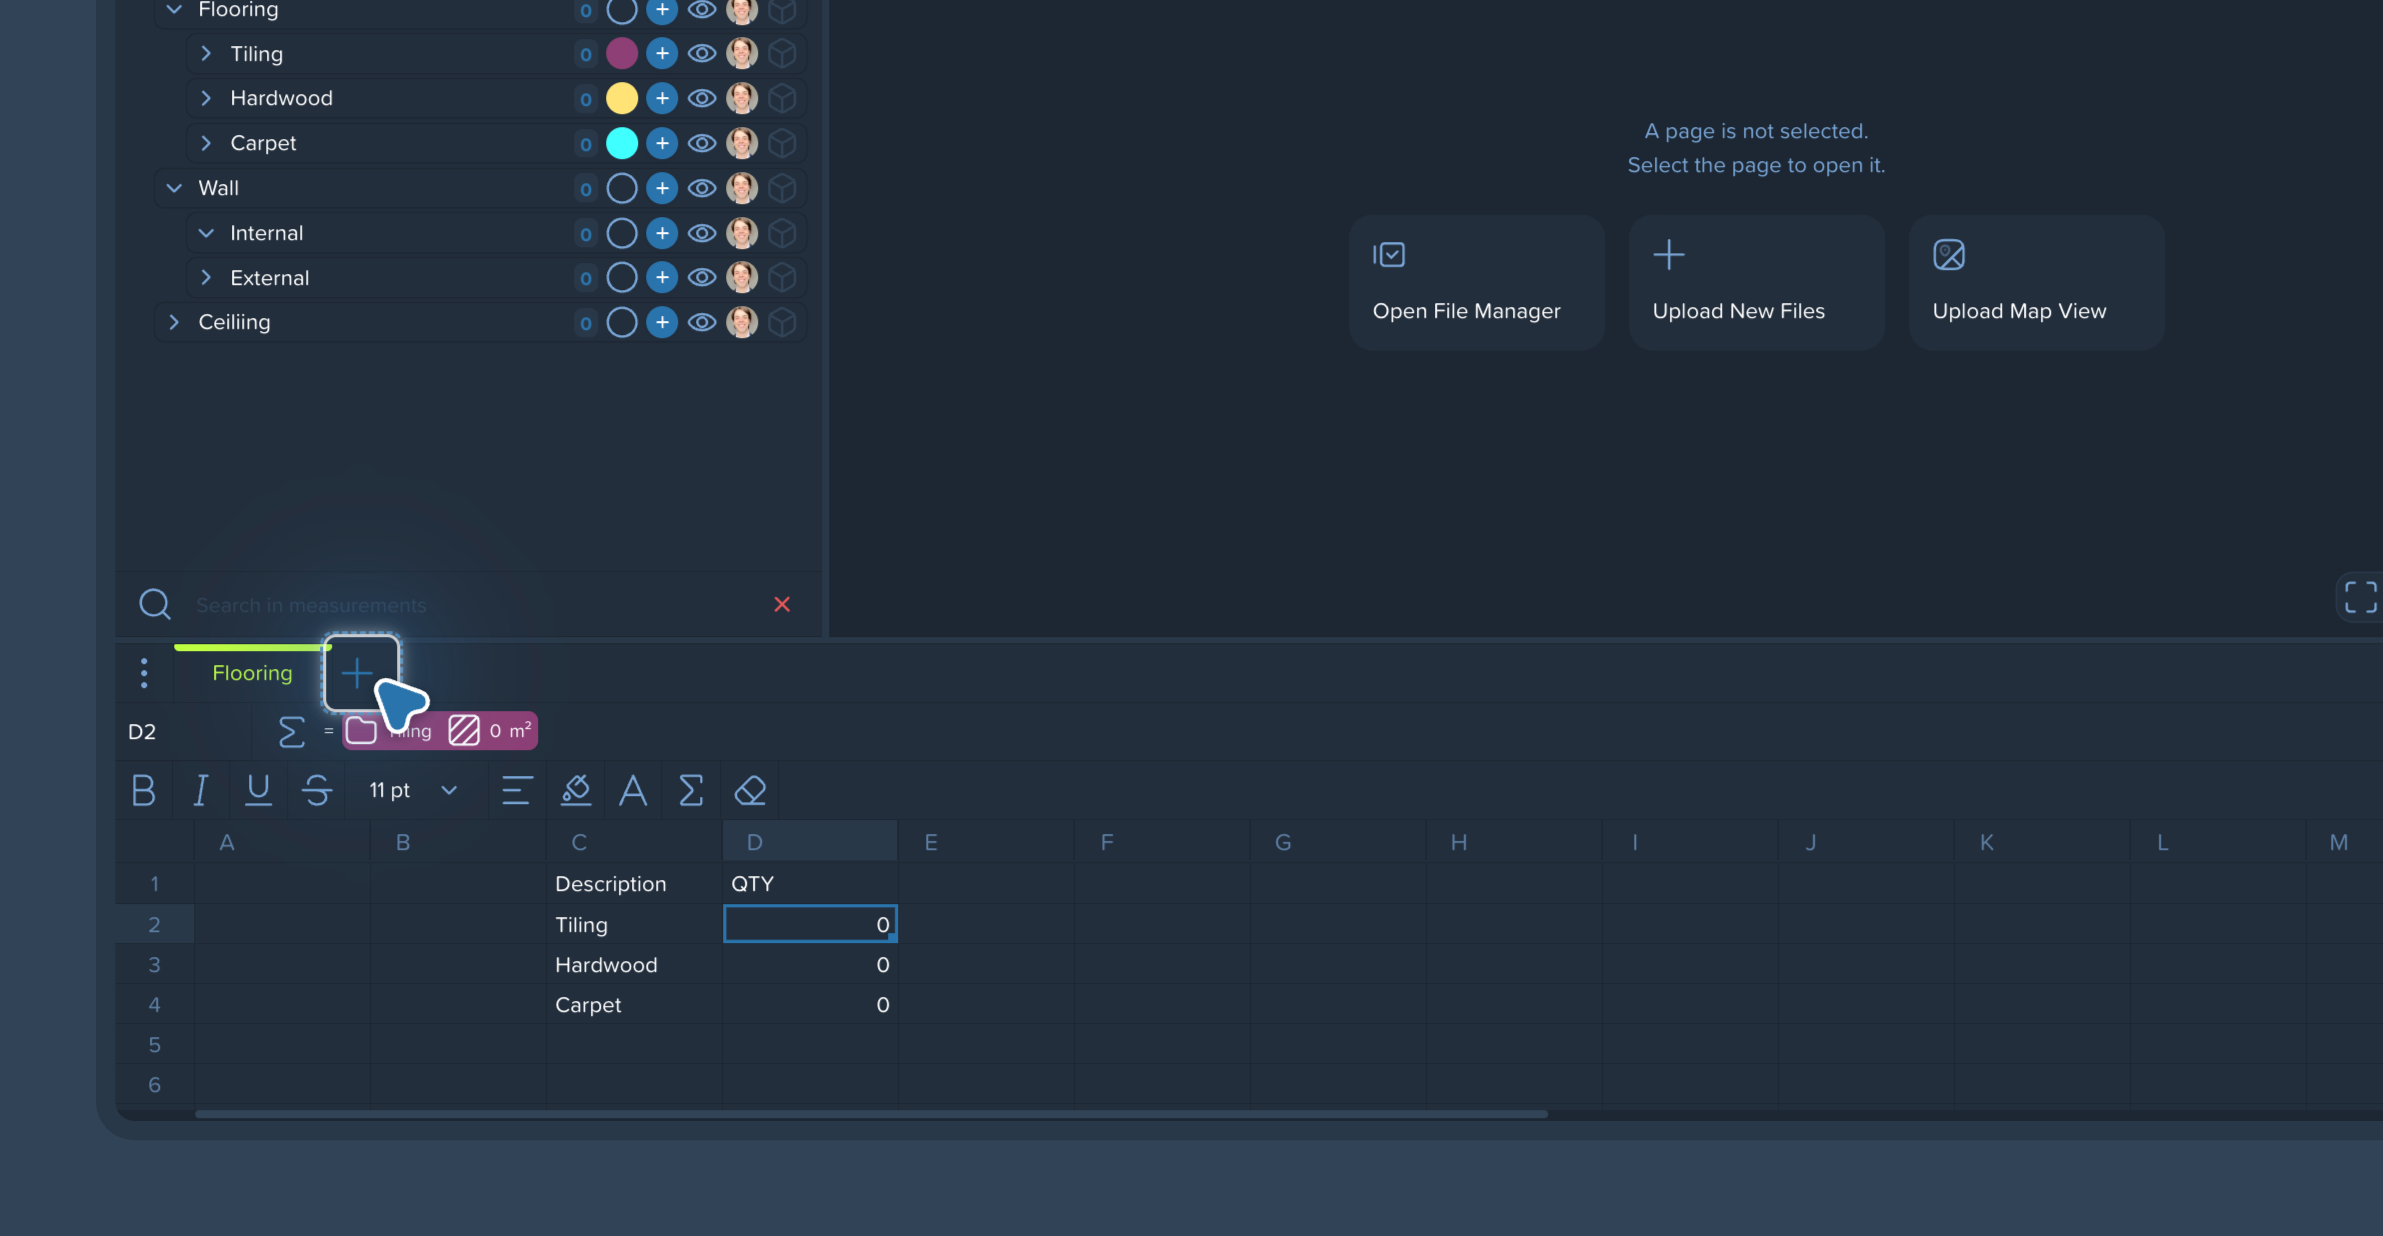
Tables: You can create a Table report to display Measurements or Items data. Configure your preferred columns, set up row filters, and save the view so you have predefined, perfectly formatted tables ready as soon as a new project is created.
If you have already completed a project with a great structure and want to reuse it, you don't have to build a template from scratch.
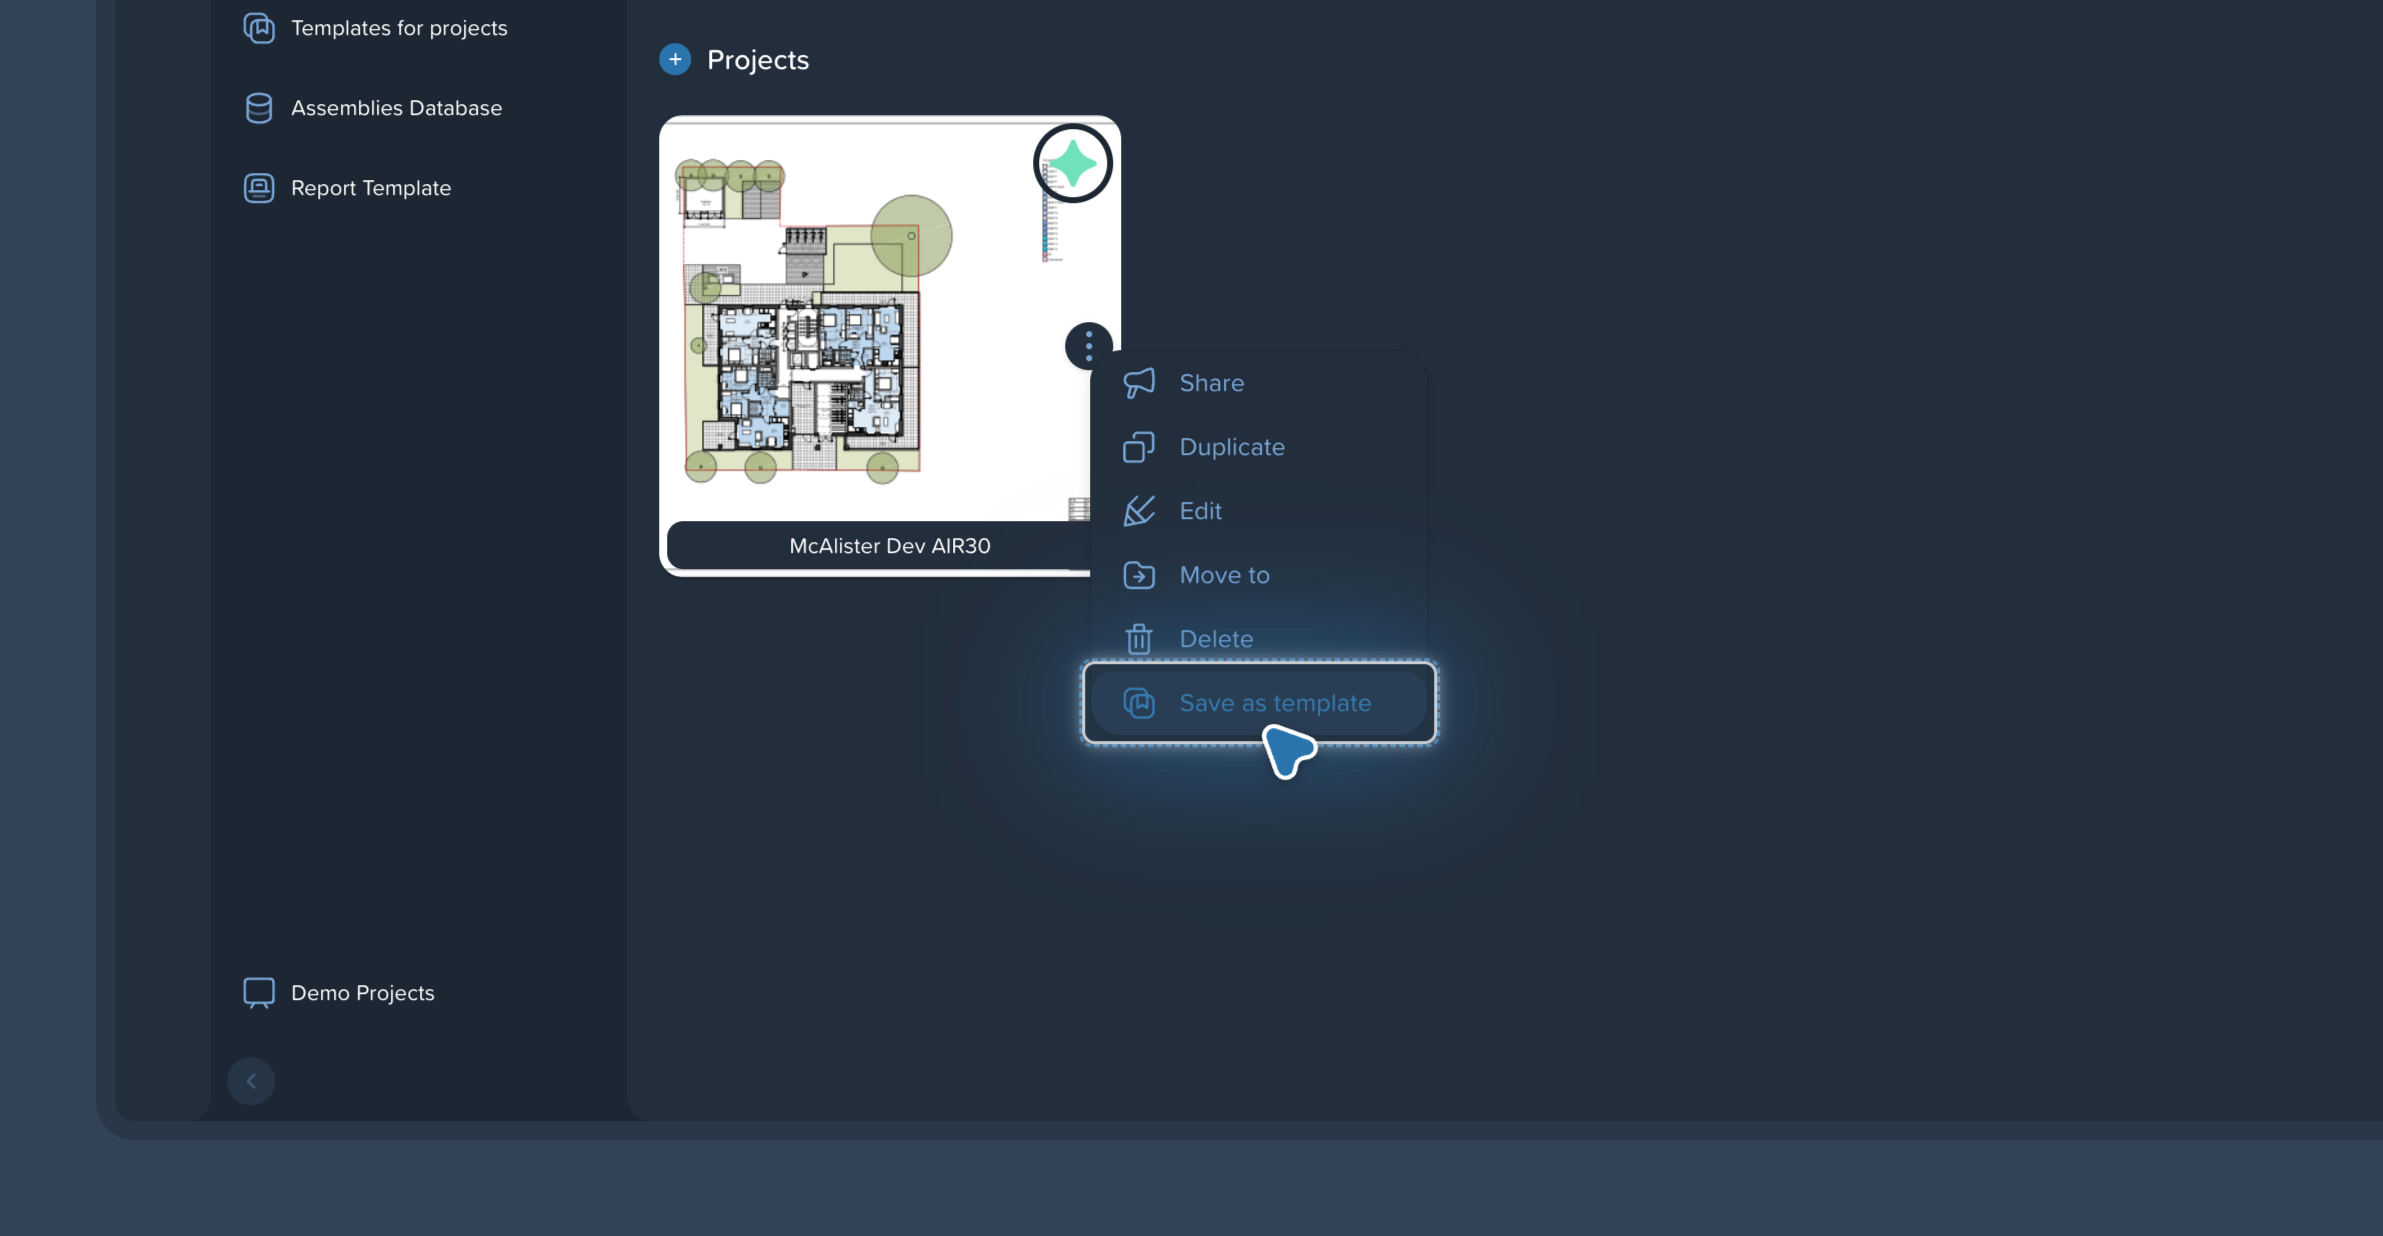
Go to your Projects list on the Homepage.
Click the 3-dots button on the specific project card.
Select Save as template from the dropdown menu.
The system will duplicate the project structure into a new template.
Rename it: Go to the Templates for projects tab to find your new template and rename it appropriately.
❗ Crucial Step - Remove the original files: Open your newly created template, go to the File Manager, right-click on the attached drawings, and select Delete. If you skip this step, the original project's drawings will automatically be attached to every new project you create using this template.
You can apply a template when starting a new takeoff.
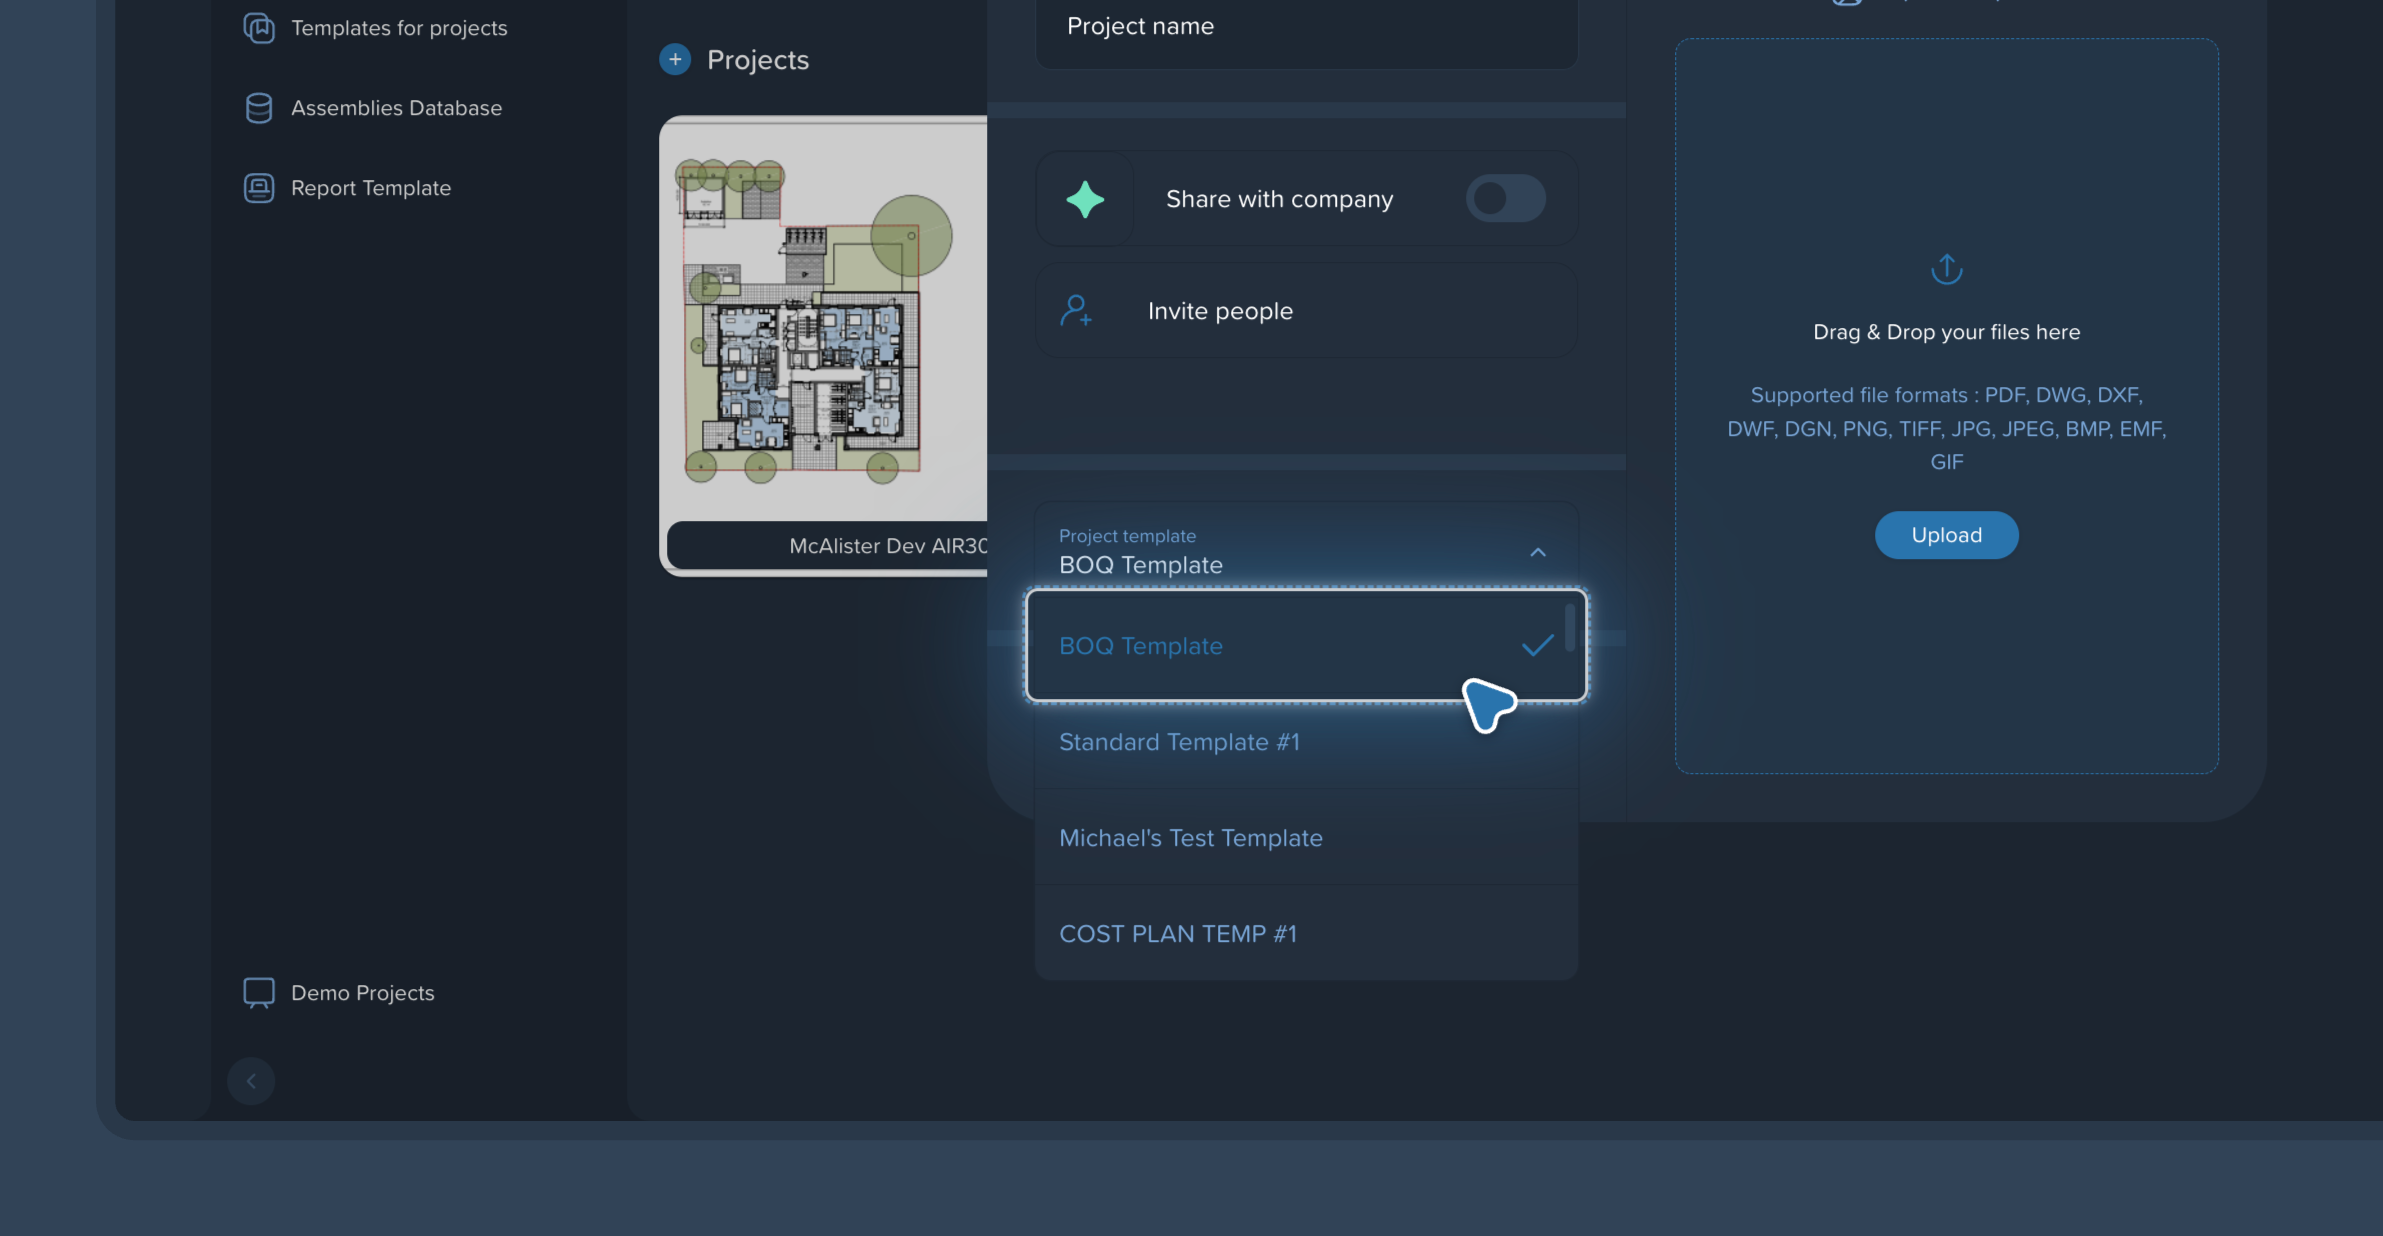
On the Homepage, click Create project.
In the creation window, locate the Project template dropdown menu.
Select your desired template from the list.
Important Notes:
This dropdown menu is the only place where you can apply a template. You cannot apply a template to a project that has already been created.
Kreo remembers your preferences. The template you choose will be selected by default the next time you create a project.

