Pivot Mode is designed to prevent an overwhelming number of measurements from cluttering the Measurement Manager and to eliminate the need for organizing them into separate folders one by one. Essentially, Pivot Mode consolidates all measurements of the same type and with identical properties into a single entry within the Measurement Manager.
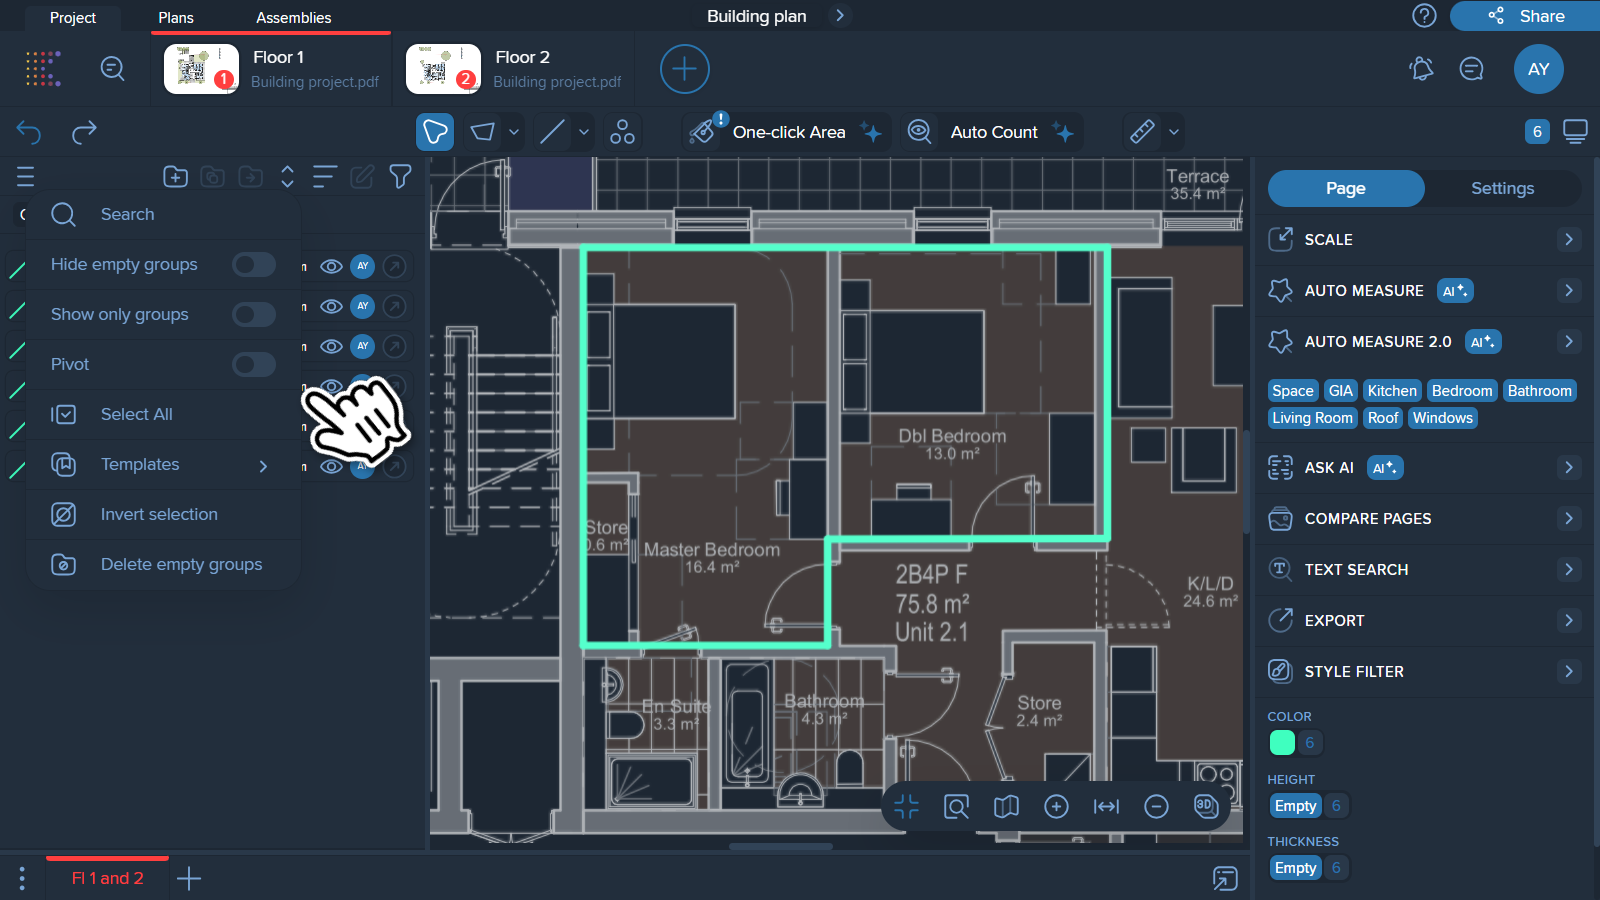
1. Go the Measurement Manager Menu: Look for the menu icon (three horizontal lines) located on the upper left side of the screen.
2. Click on the menu icon and find 'Pivot' in the opened menu.
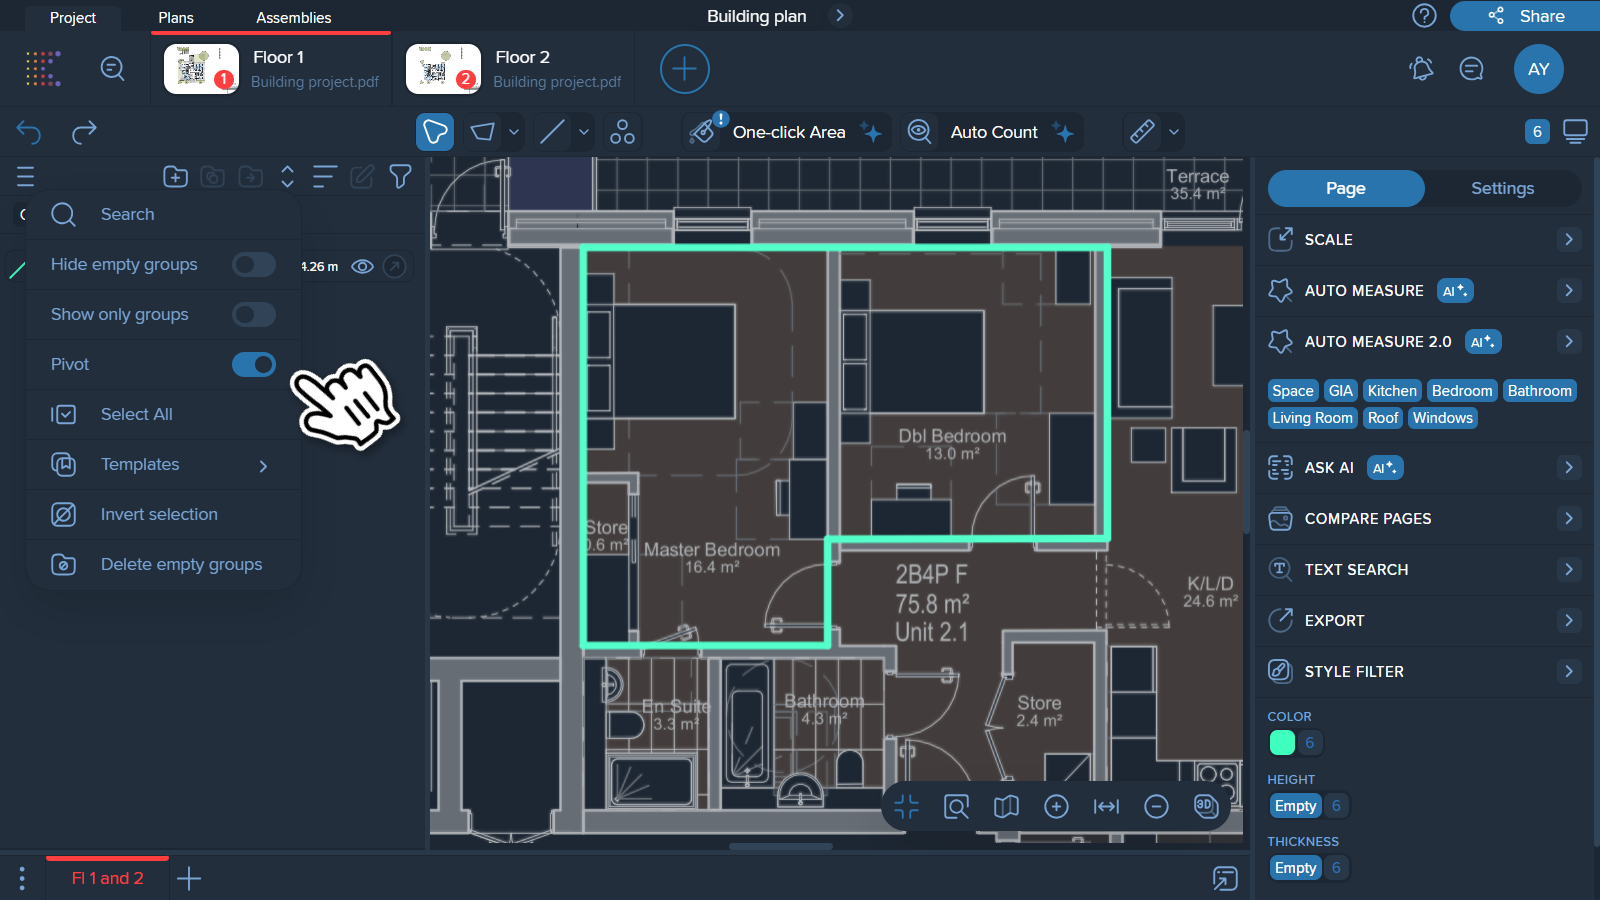
3. Toggle the Pivot Mode Switch: Toggle the Pivot switch to the "on" position to activate Pivot Mode.
Note❗
Pivot Mode is enabled by default. To turn it off, simply toggle the Pivot switch to the "off" position.
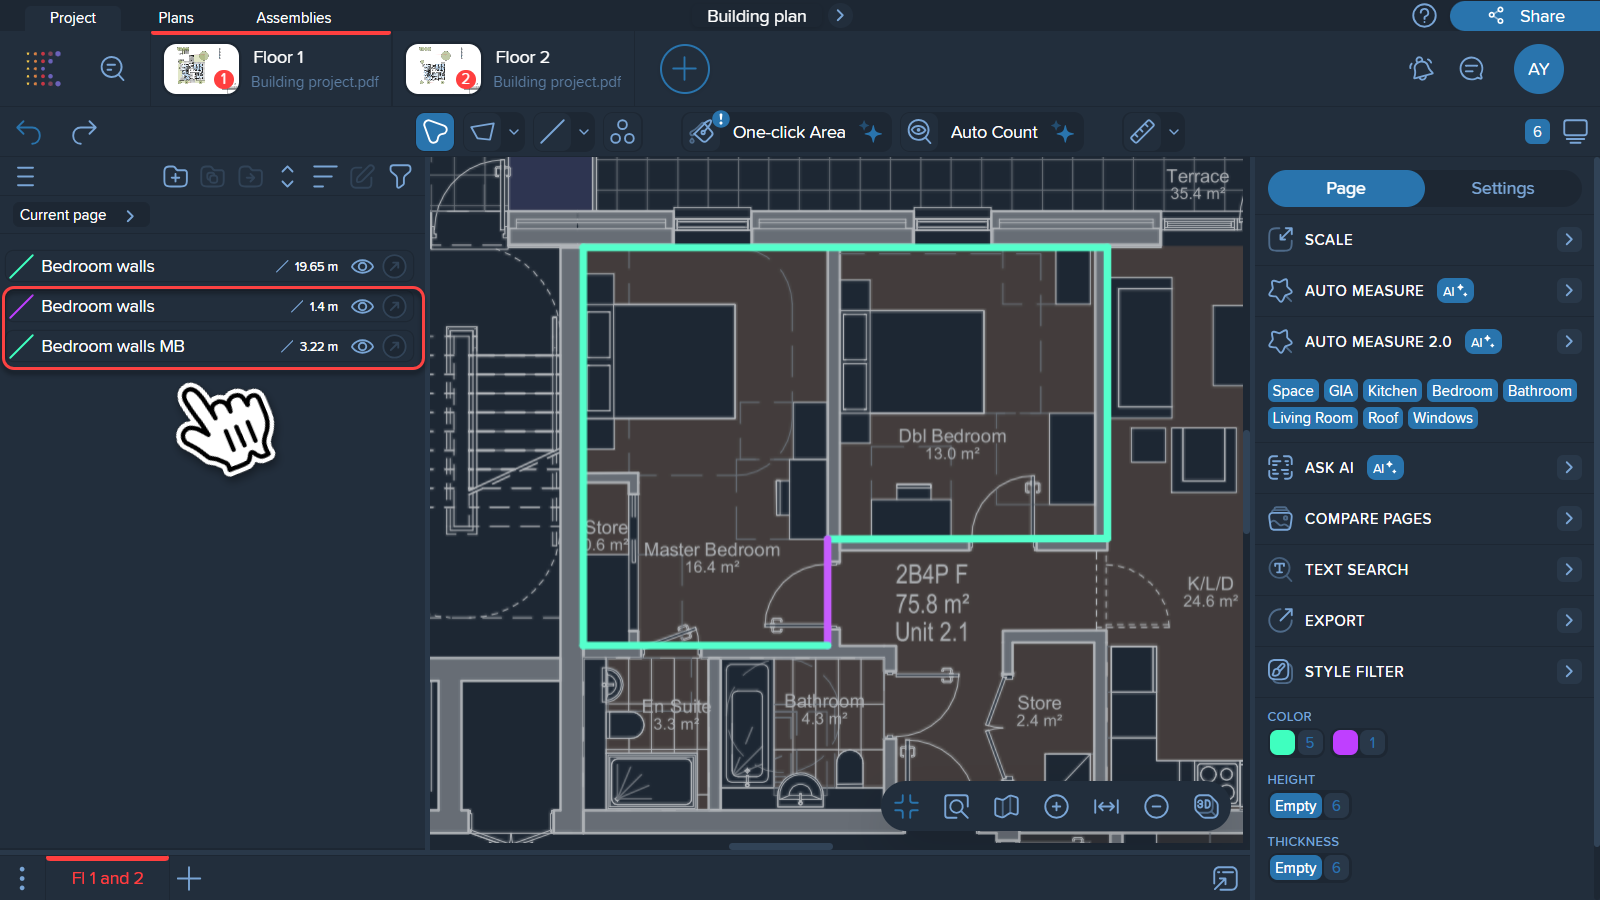
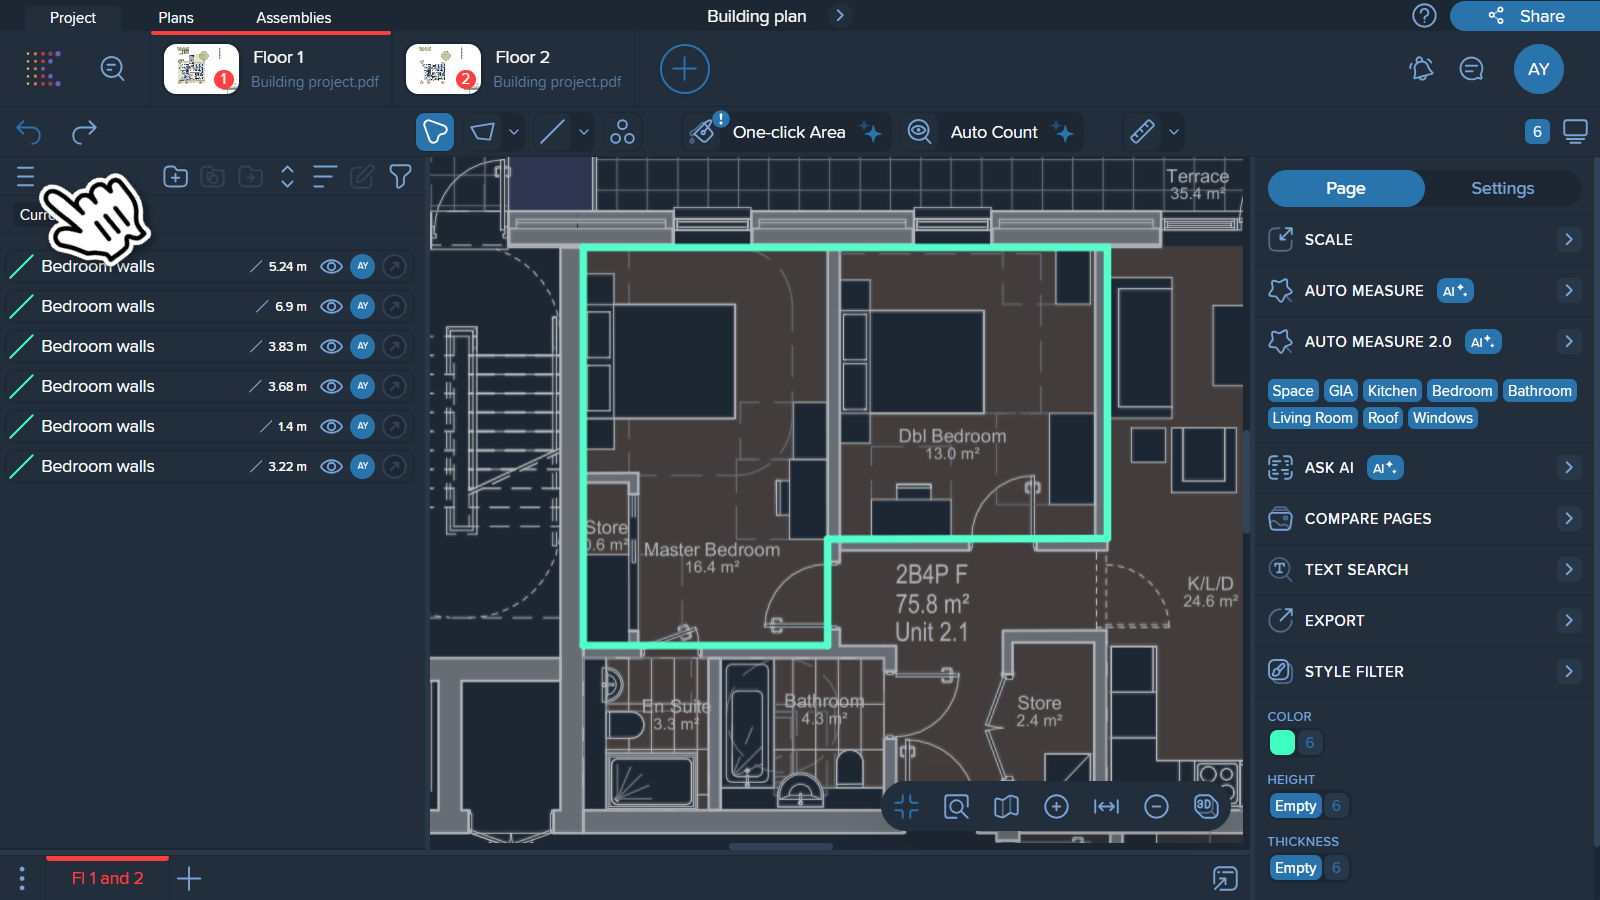
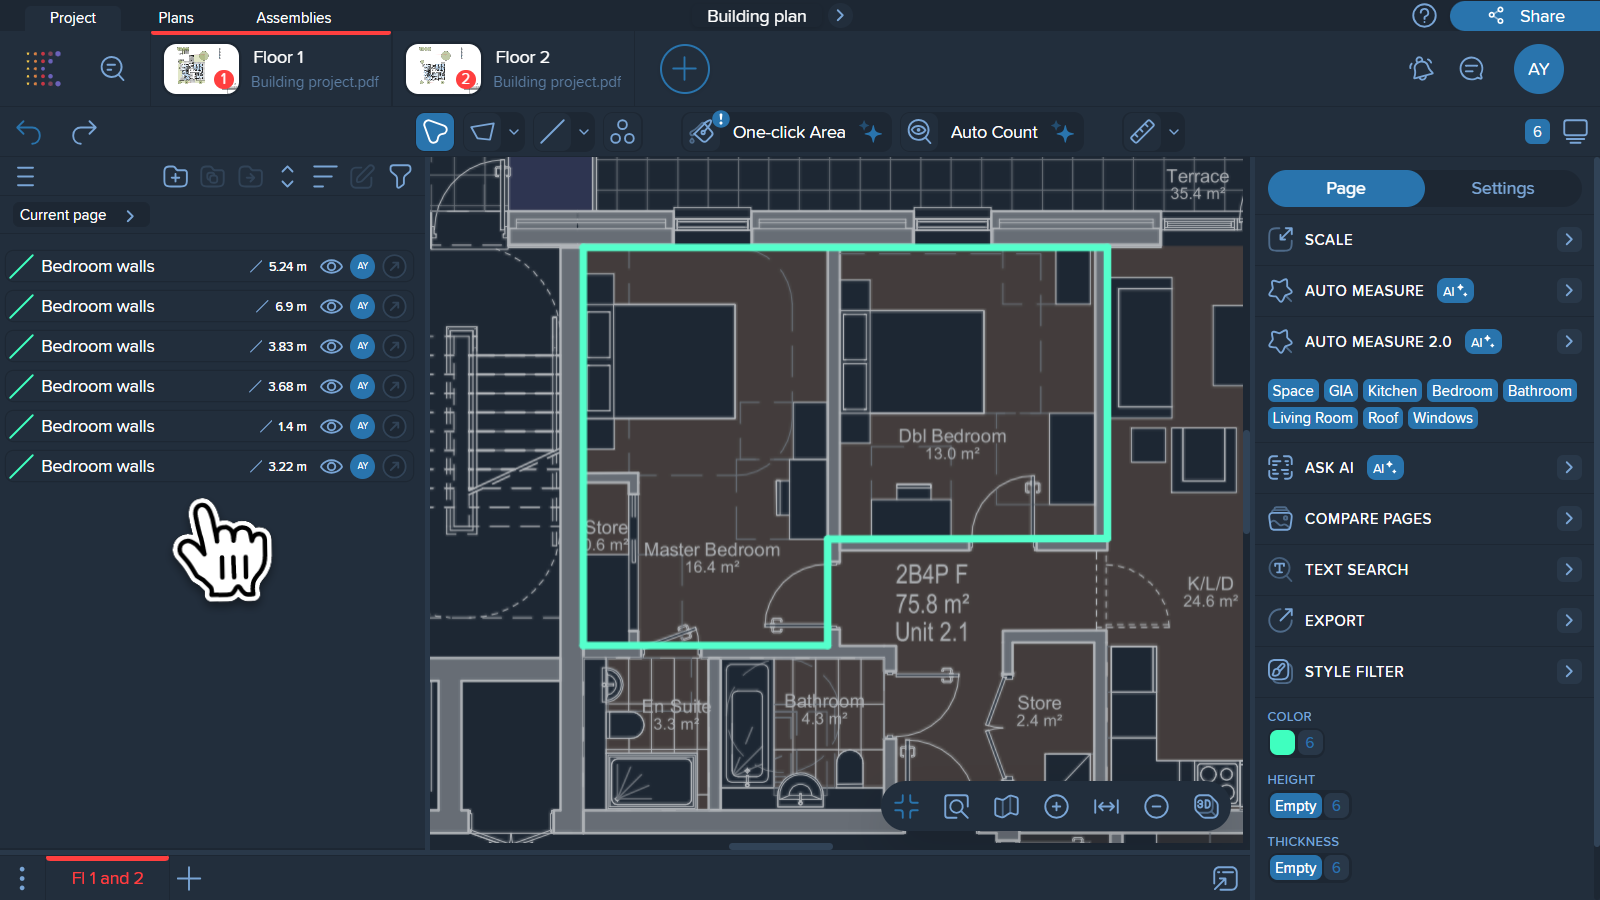
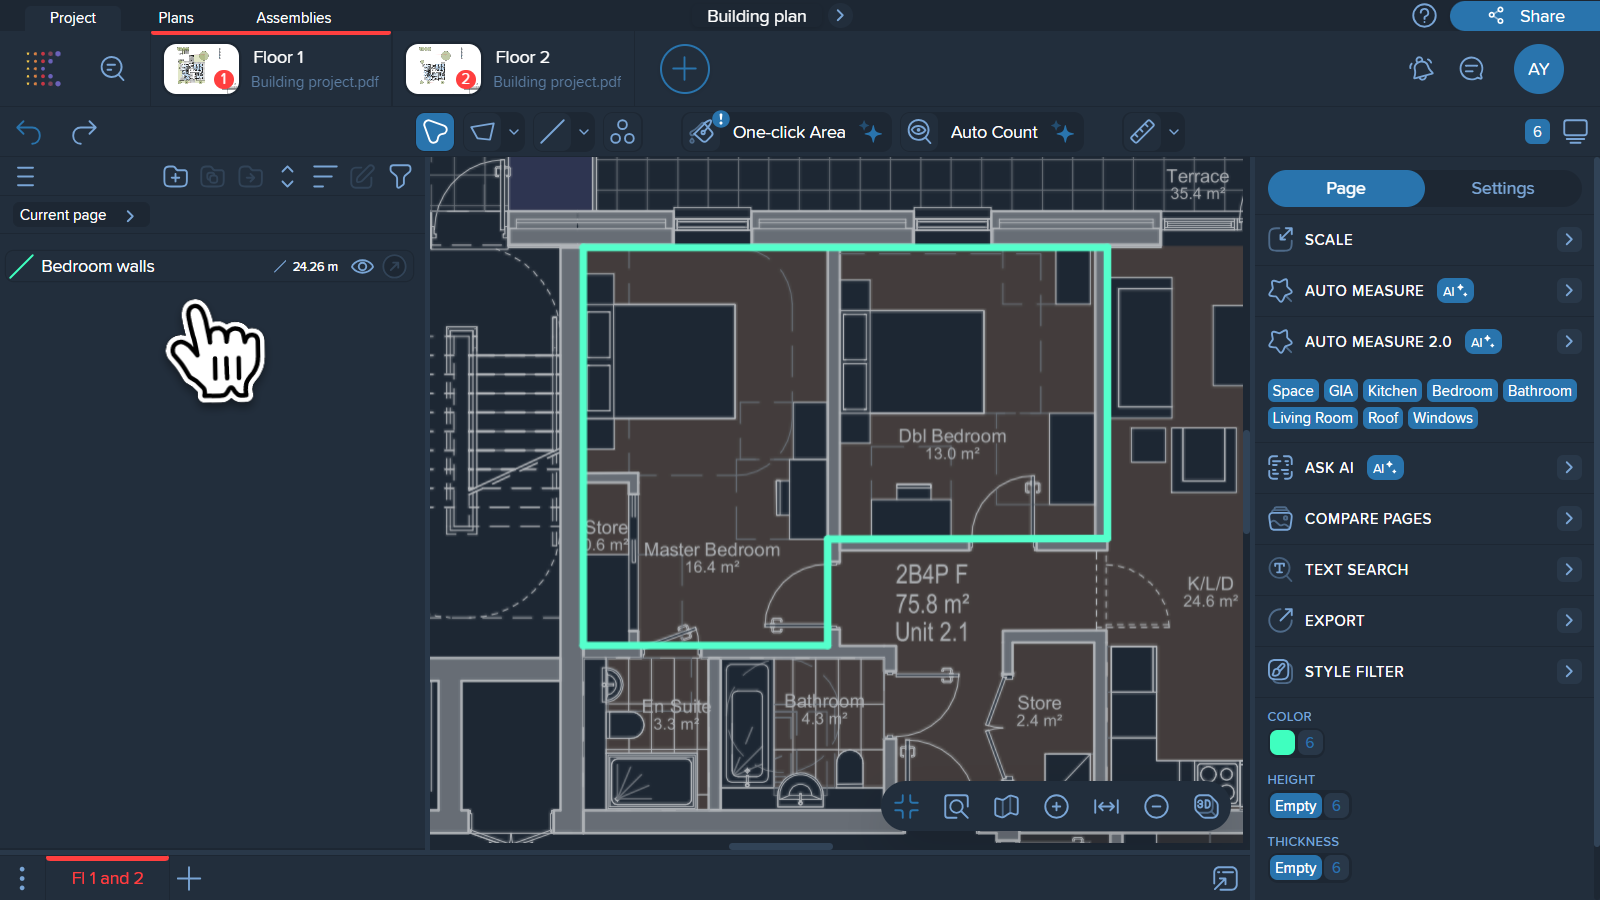
For example, if you have five polylines that share the same properties (color, name, height, thickness, and style), enabling Pivot Mode in the Measurement Manager will result in displaying only one polyline measurement with the total length of all five polylines combined.
1. Pivot Mode off
2. Pivot Mode on
Note❗
Pivot Mode consolidates only those measurements that are entirely identical in all parameters. If even one parameter (such as color, name, thickness, height, etc.) differs, they will be shown as separate measurements in Pivot Mode.