Let's start exploring the toolbar from the very beginning.
1. If you've changed the element's position and want to return to the initial one, click on the home icon

The combination of Ctrl + F serves the same function
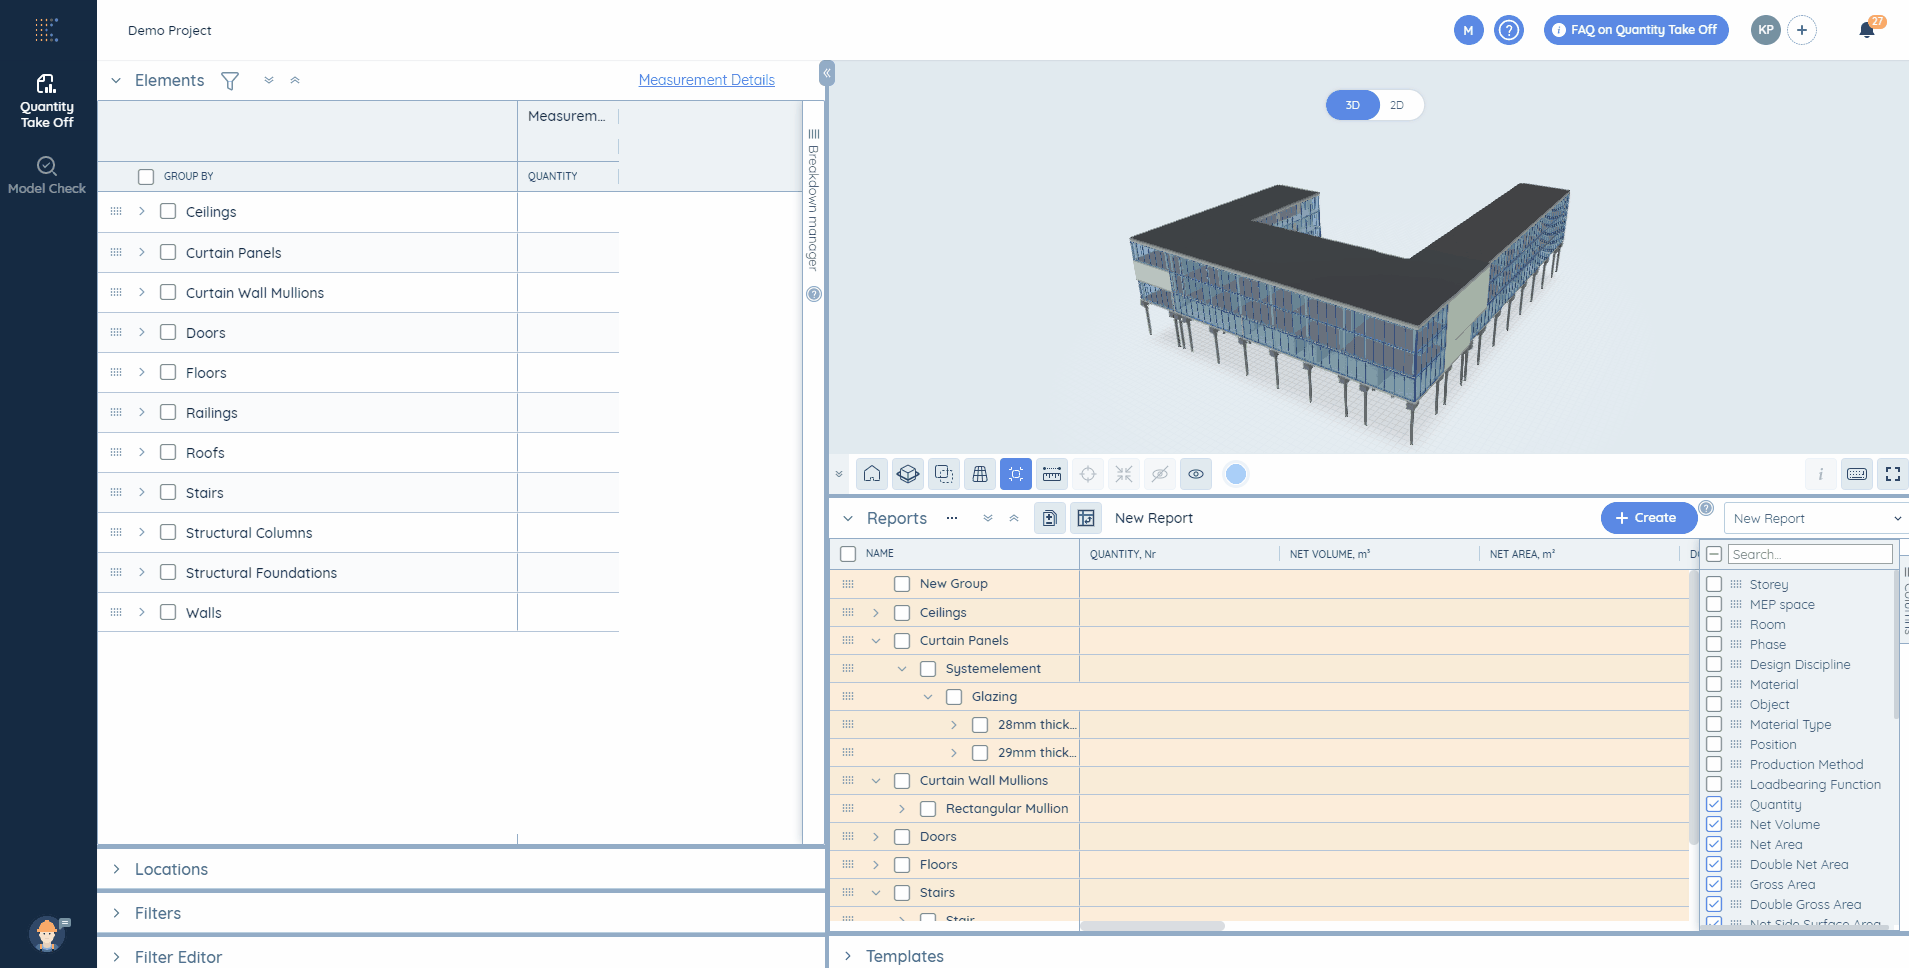
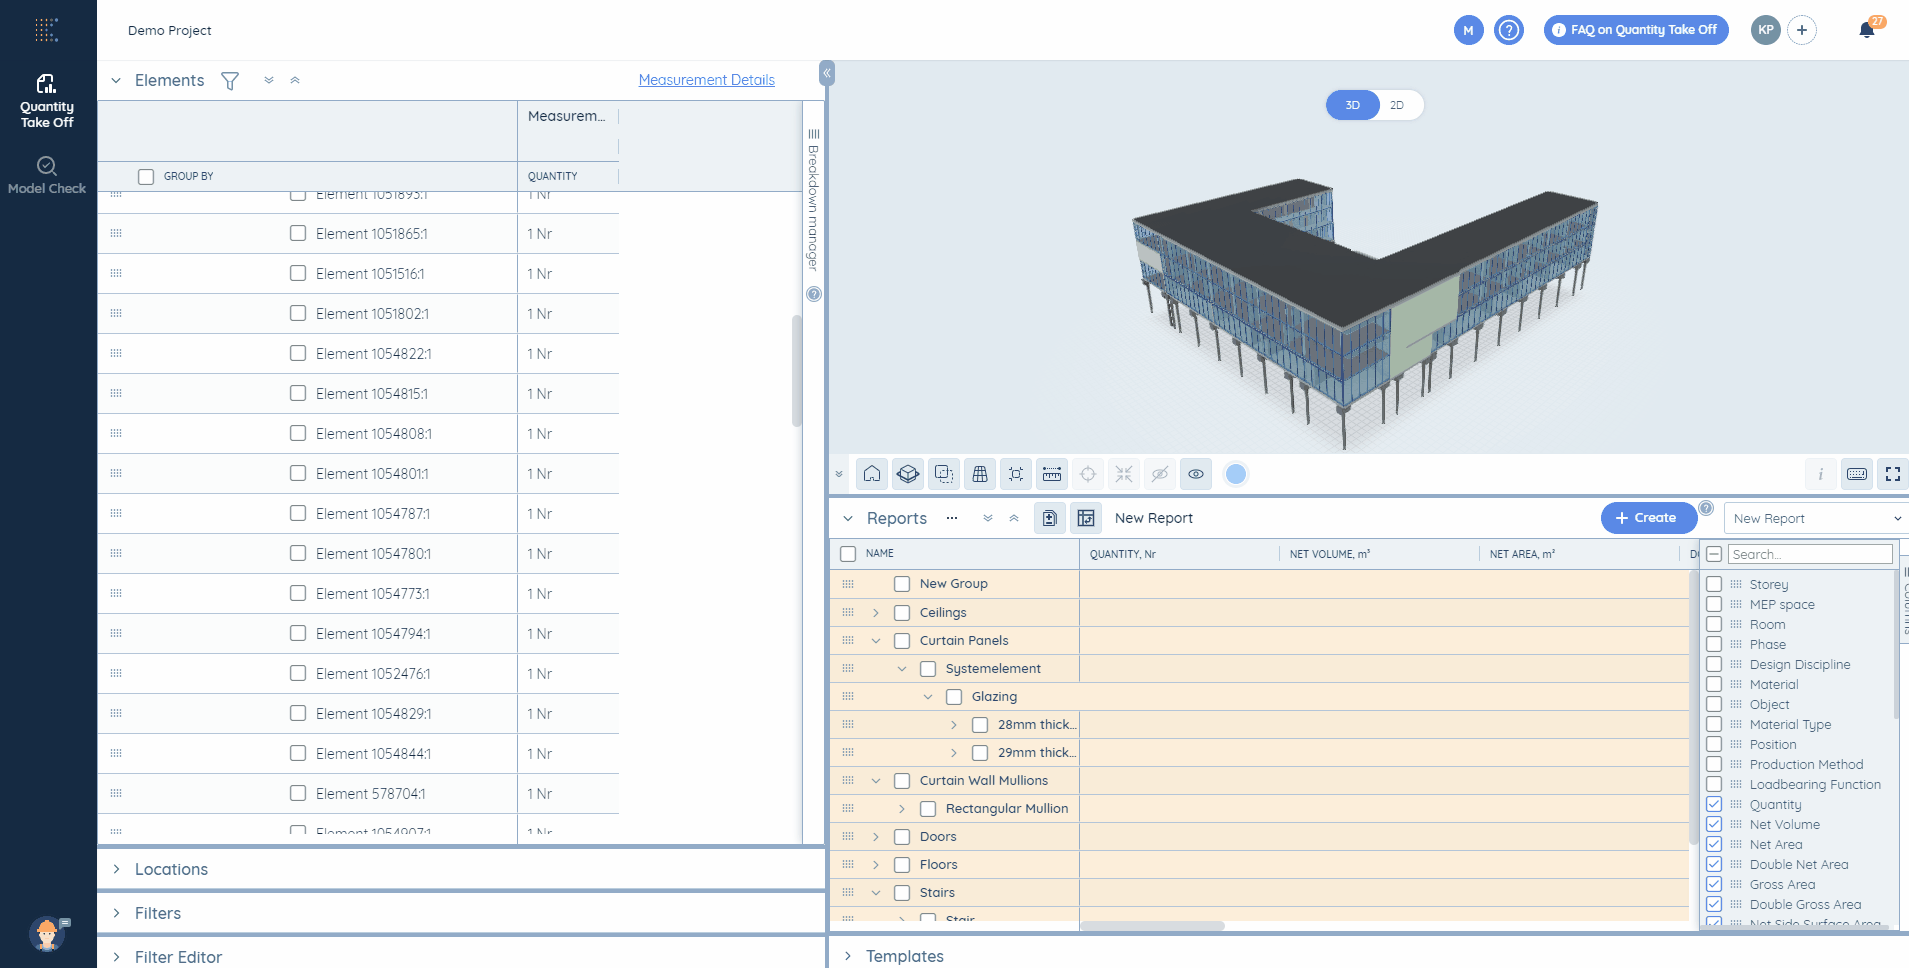
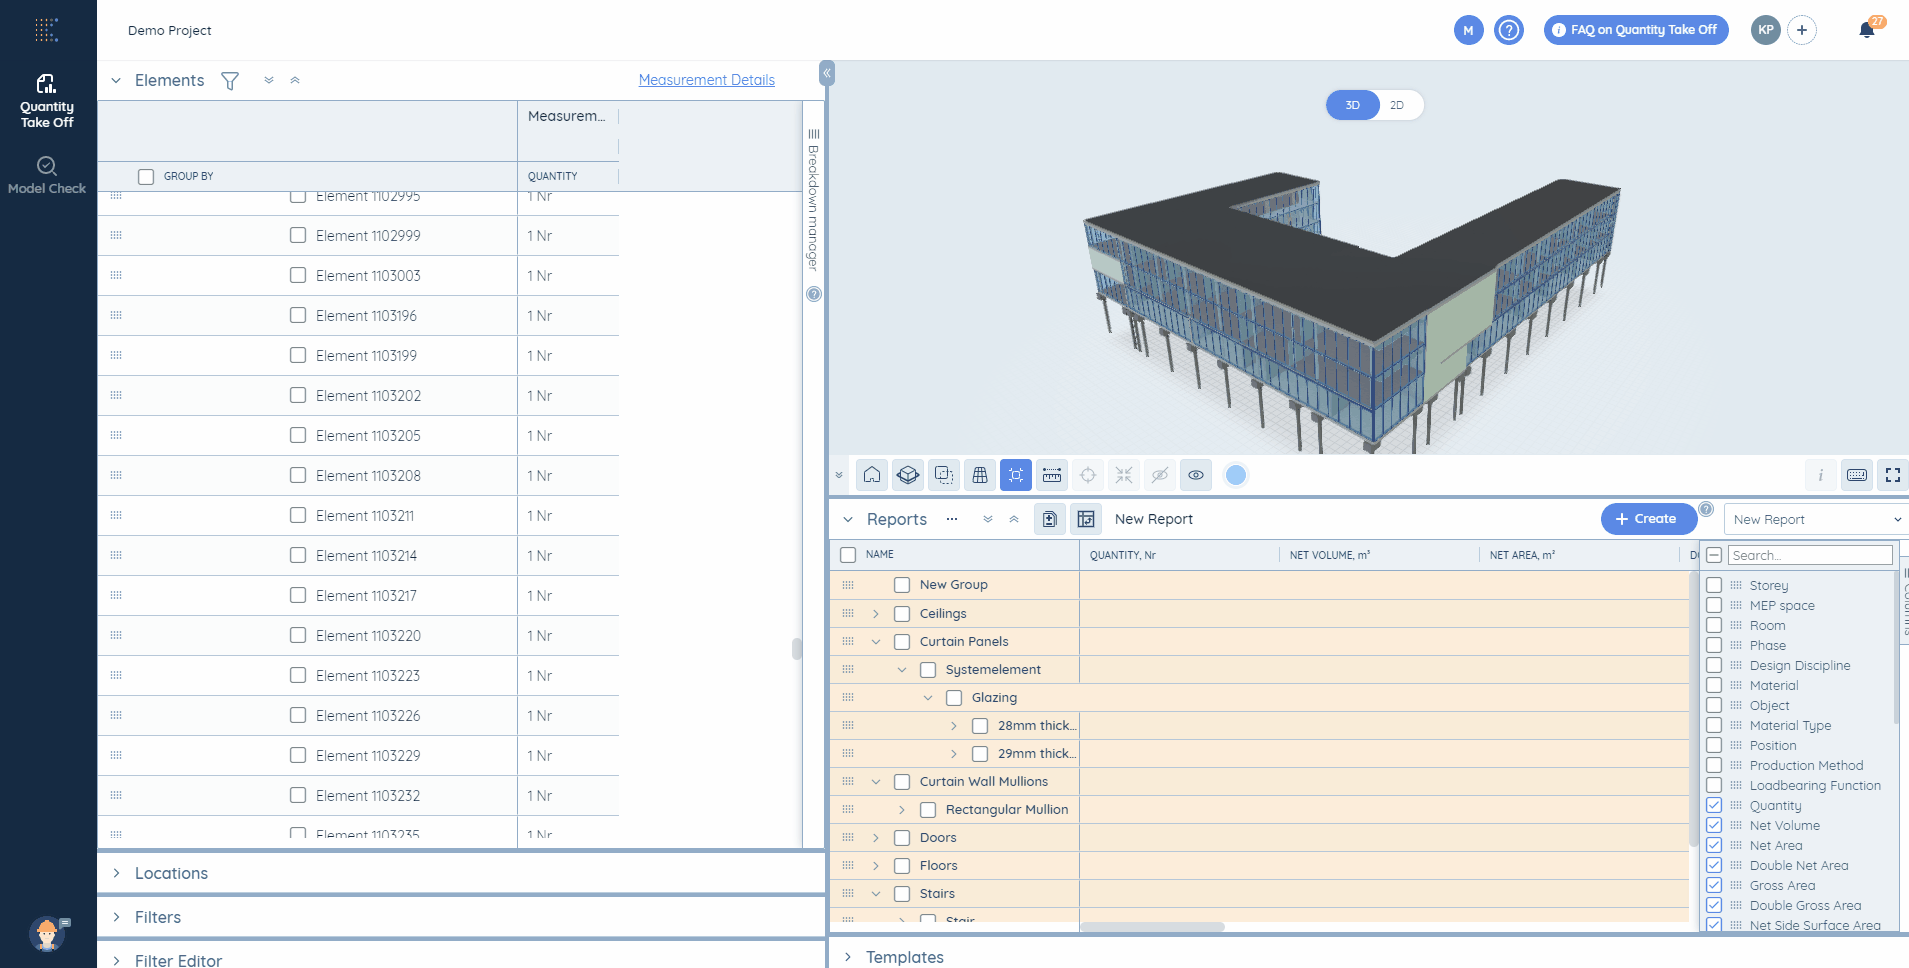
2. You can hide some elements, which you don't need at the moment by clicking on them and choosing the option "Hide Ghost":

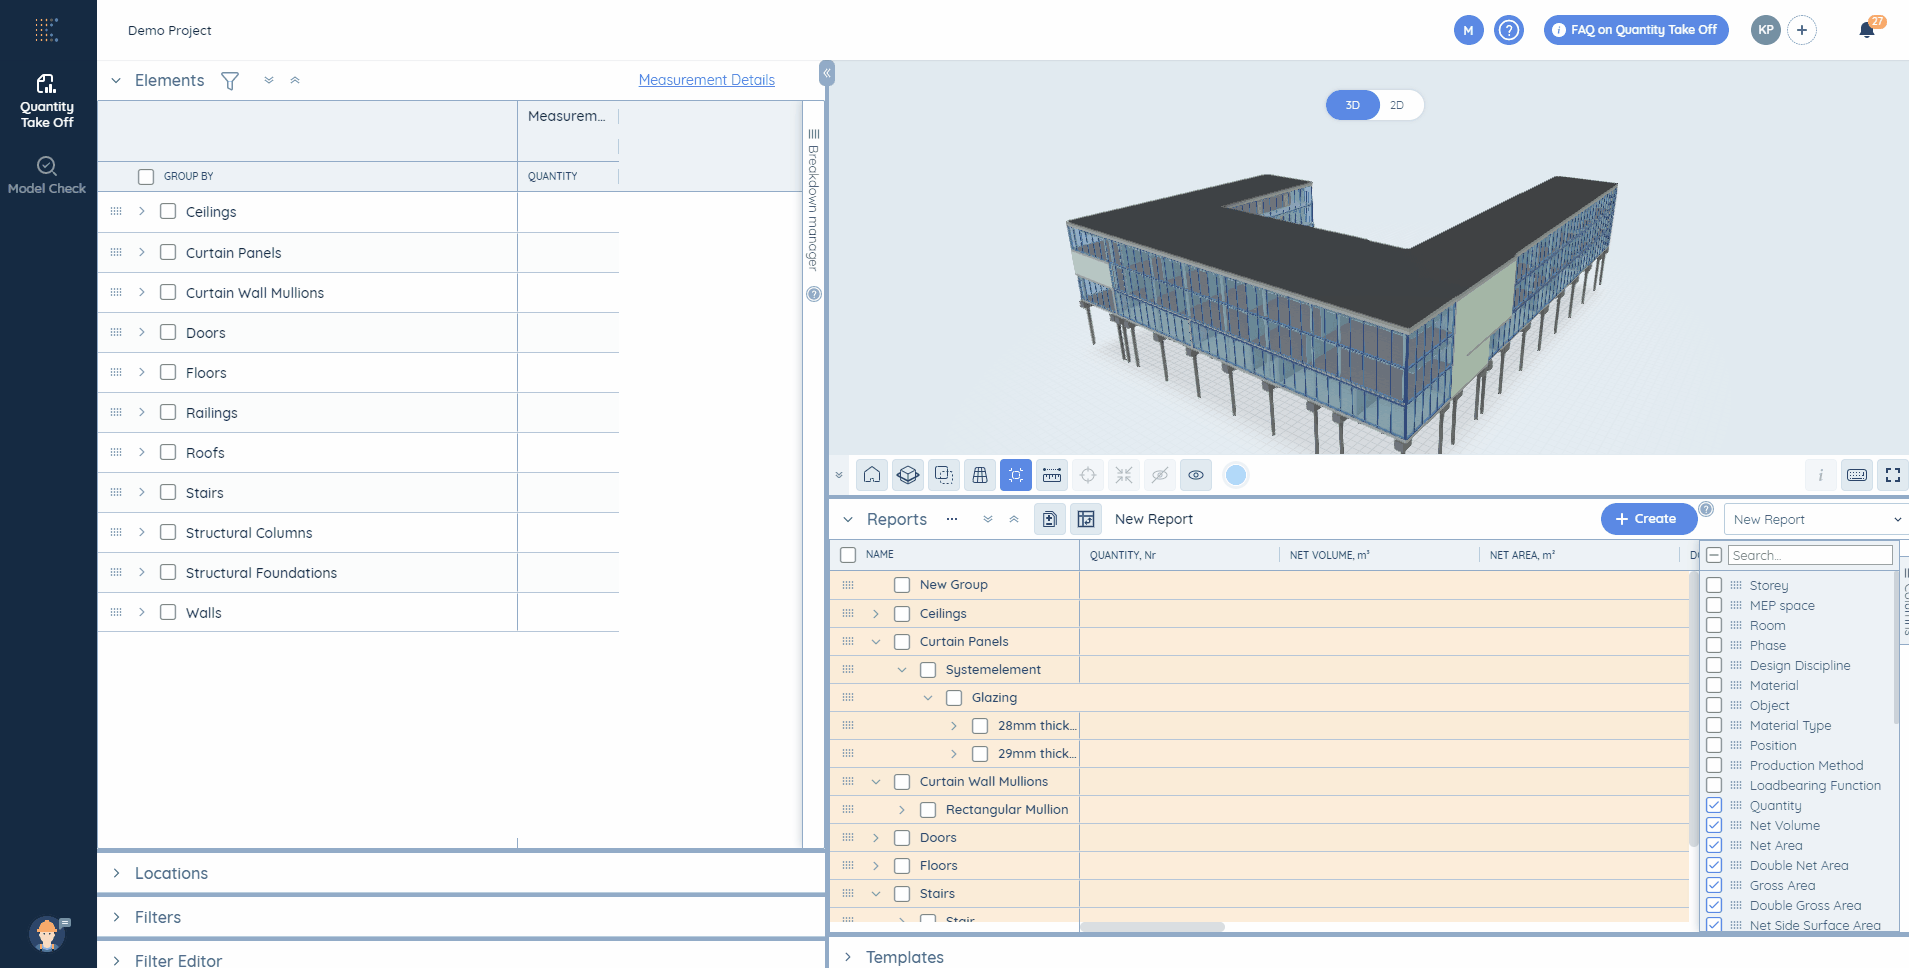
3. You can see the model both in perspective and in isometry. Just choose the relevant option. For it either click on

Or use the button "P" on your keyboard.
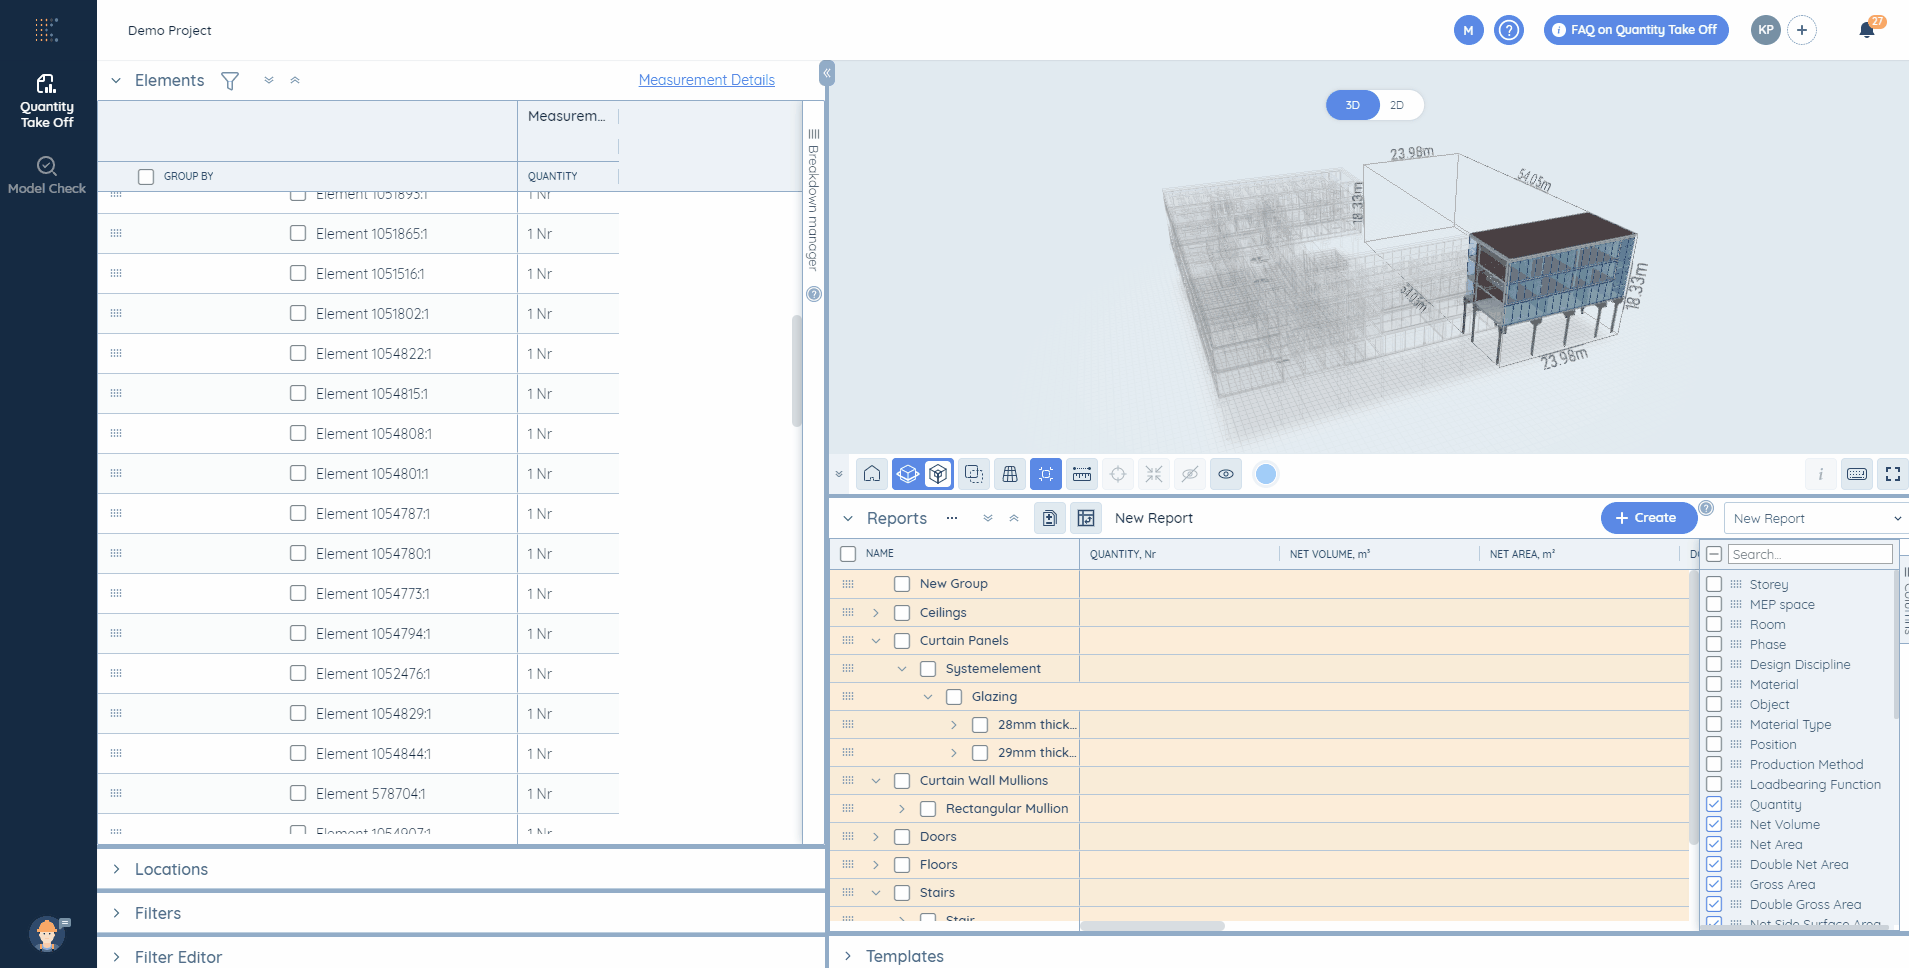
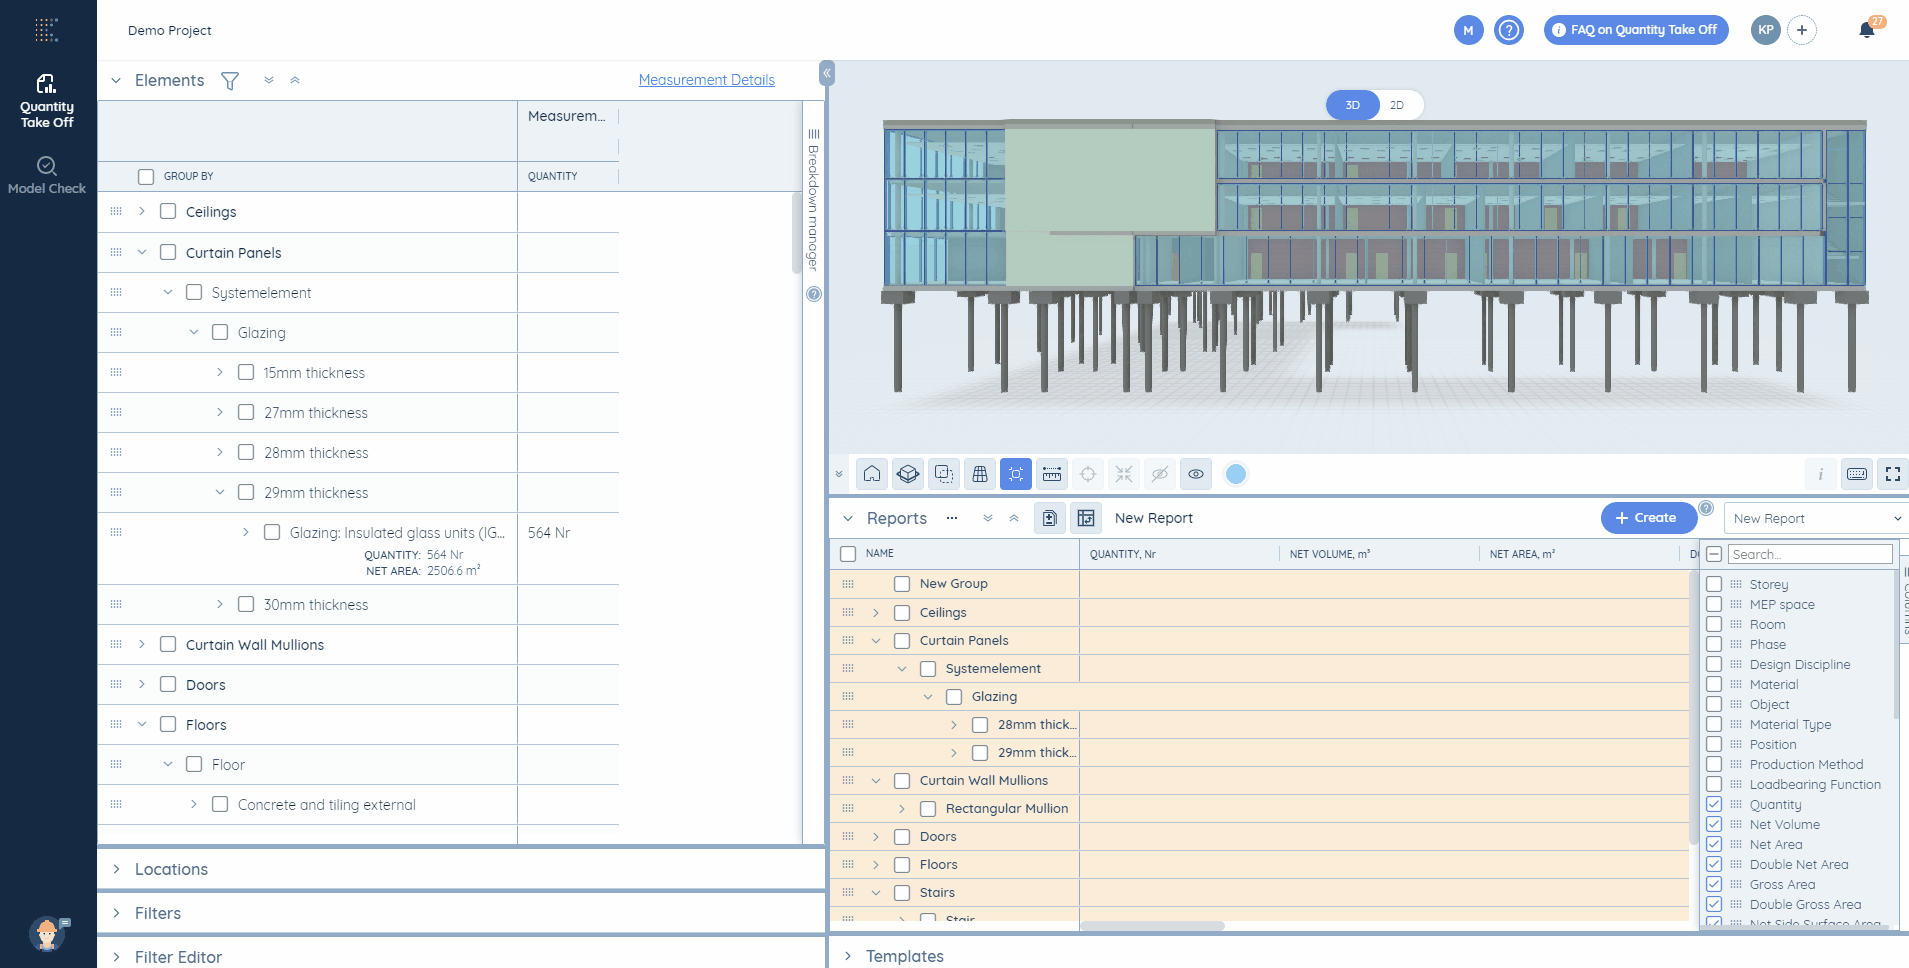
4. If you want to select one specific element and zoom on it, click on the button Auto Focus, then you can go to the Breakdown Table and choose the relevant element. Double-click in any space available to return to the initial view.
5. Several buttons are locked until an element is not selected on the 3D view. Choose an element and then:
- Use

or press "F" button to focus on the relevant element.
- Use

or press "I" button to isolate the relevant element.
- Use

or press "H" button to hide the relevant element.
- Click on the "Colour" button and select the colour to be assigned to the relevant elements.
6. Click on or use combination of Ctrl + H to see all hidden elements.
7. Select the required element, click on the "i" button

and you will see the element's properties from Revit material library.
8. By clicking on the Keyboard Shortcuts button

you will see a number of instructions on how to use different buttons and various helpful combinations of them.
📝Note! If you use hot keys, make sure the 3D area is active at the moment. To do this, click&drag your model a bit.
9. To make the 3D area full screen use the button

10. Hide the toolbar by clicking on the button