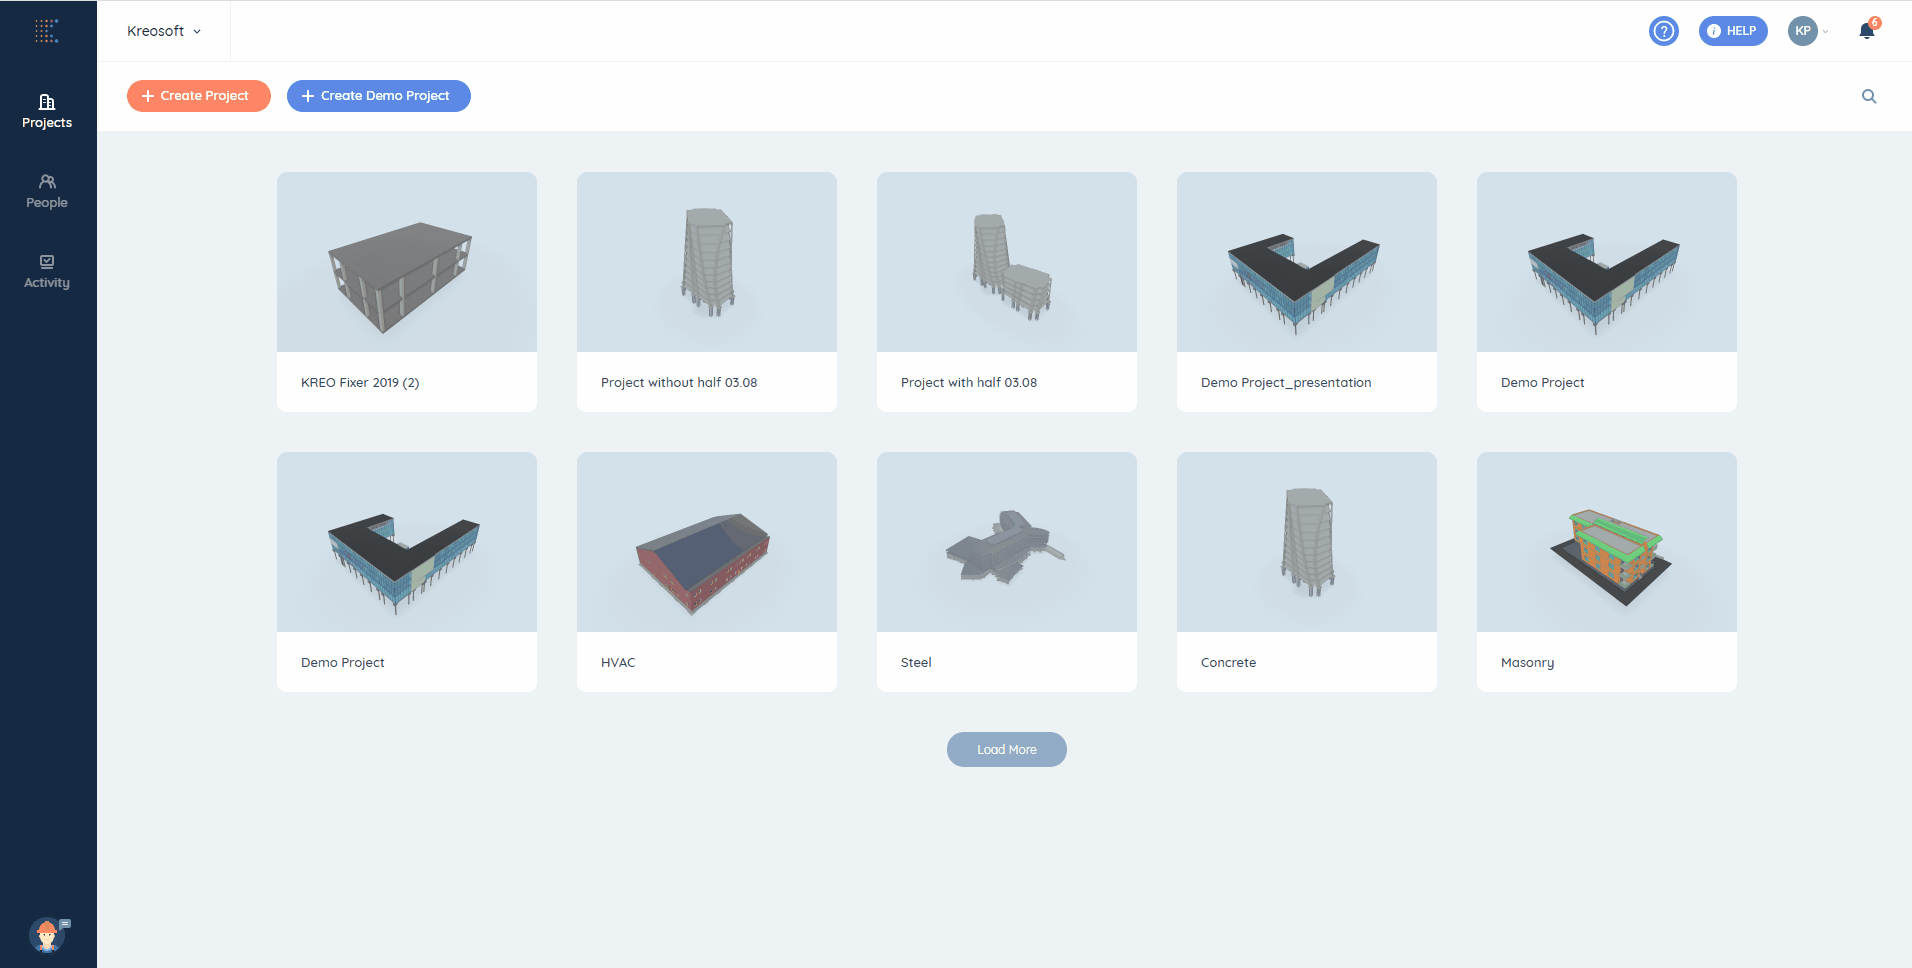
1. First things first, let's create a new project. There are two ways to do it:
Uploading your own .BIM, .IFC or .RVT model*;
Creating a Demo project.
📝Note! One more way to upload a .RVT model is to install our plug-in for Revit to export your model to Kreo right away. Also, you can upload multiple linked files at once to create a federated project in Kreo.
2. Once your new project is created you want to click on it. On the Control panel you can see Kreo Takeoff divided into 2 working stages:
Quantity Take Off;
Model Check.
Let's cover Quantity Take Off first.
We can divide it into 3 working areas:
Breakdown Table;
3D;
Report Table.
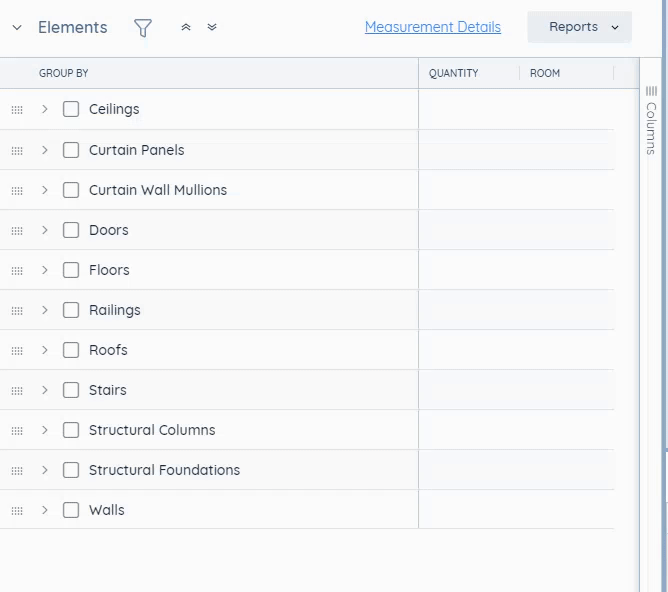
In Breakdown Table you can filter out your BIM model to relevant elements/locations, create your own breakdown structure, recalculate your work volume by selecting filters, download measurement details, etc.
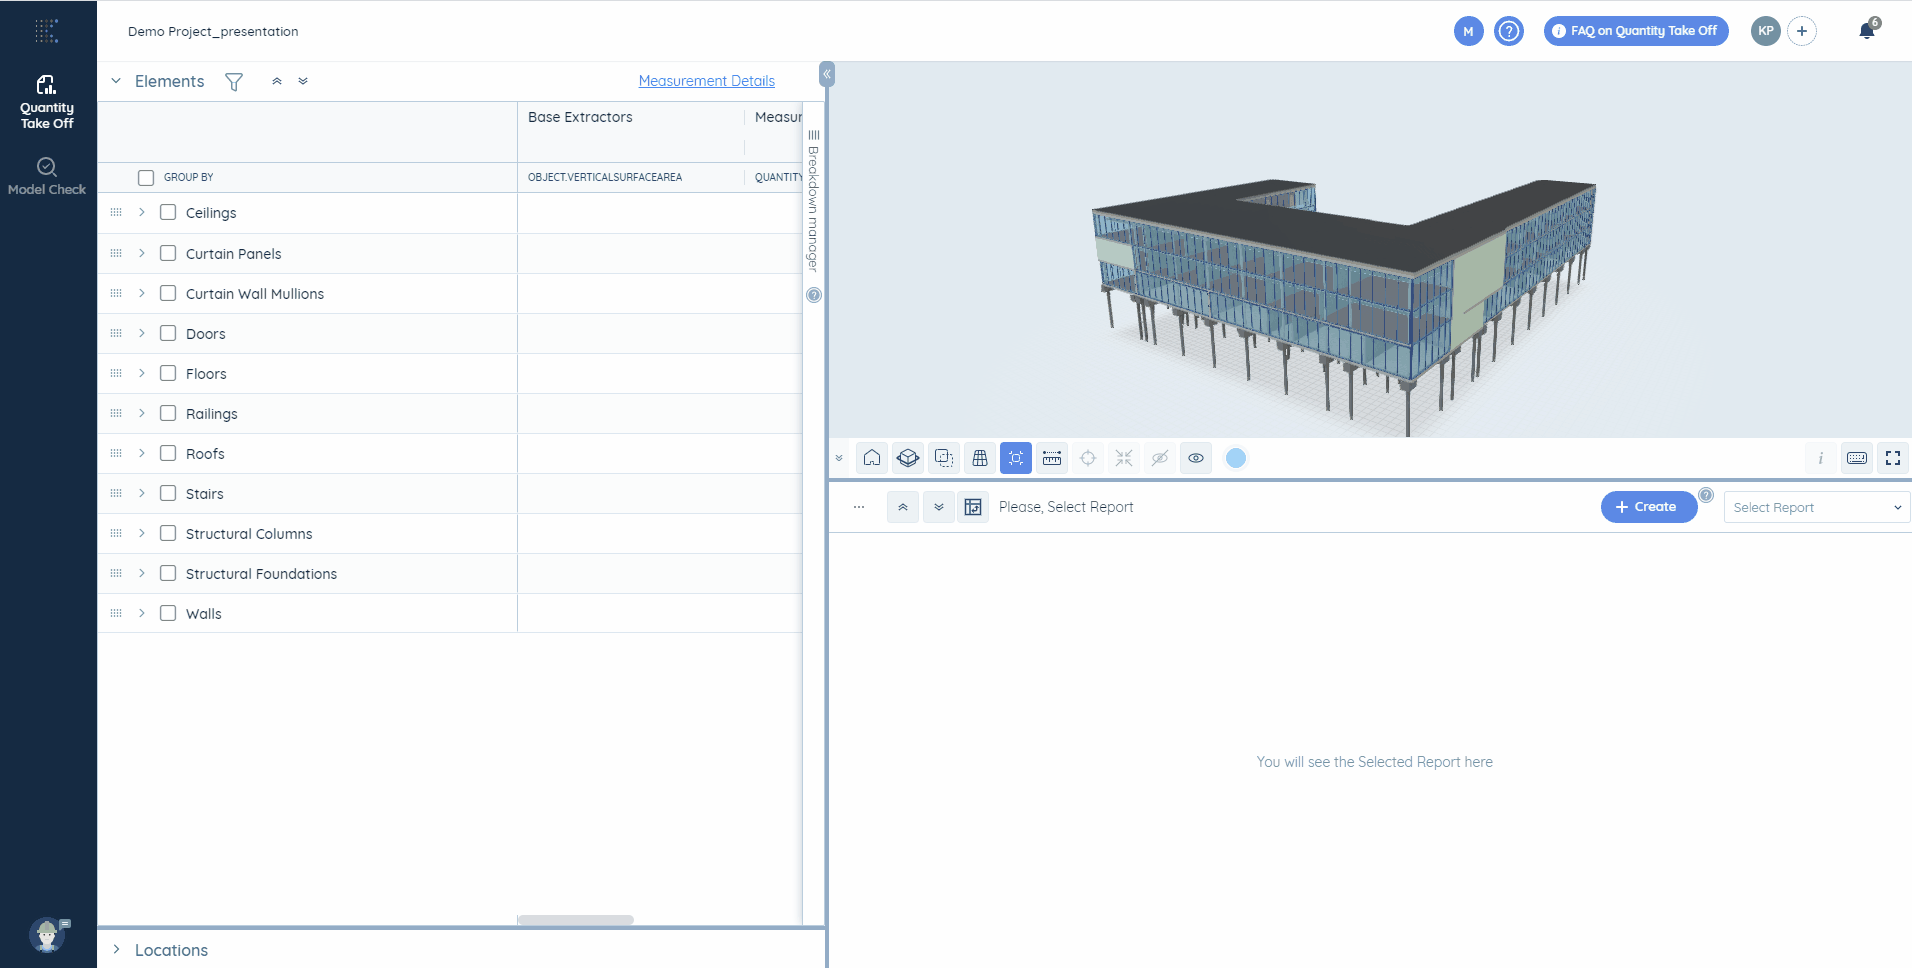
In the Report Table you can generate a set of default reports broken down by Levels, NRM, Revit classification, etc., create your own new report, modify rows and columns, modify the amount of measurements for the cells, create your own breakdown structure, export the report to Excel, etc.
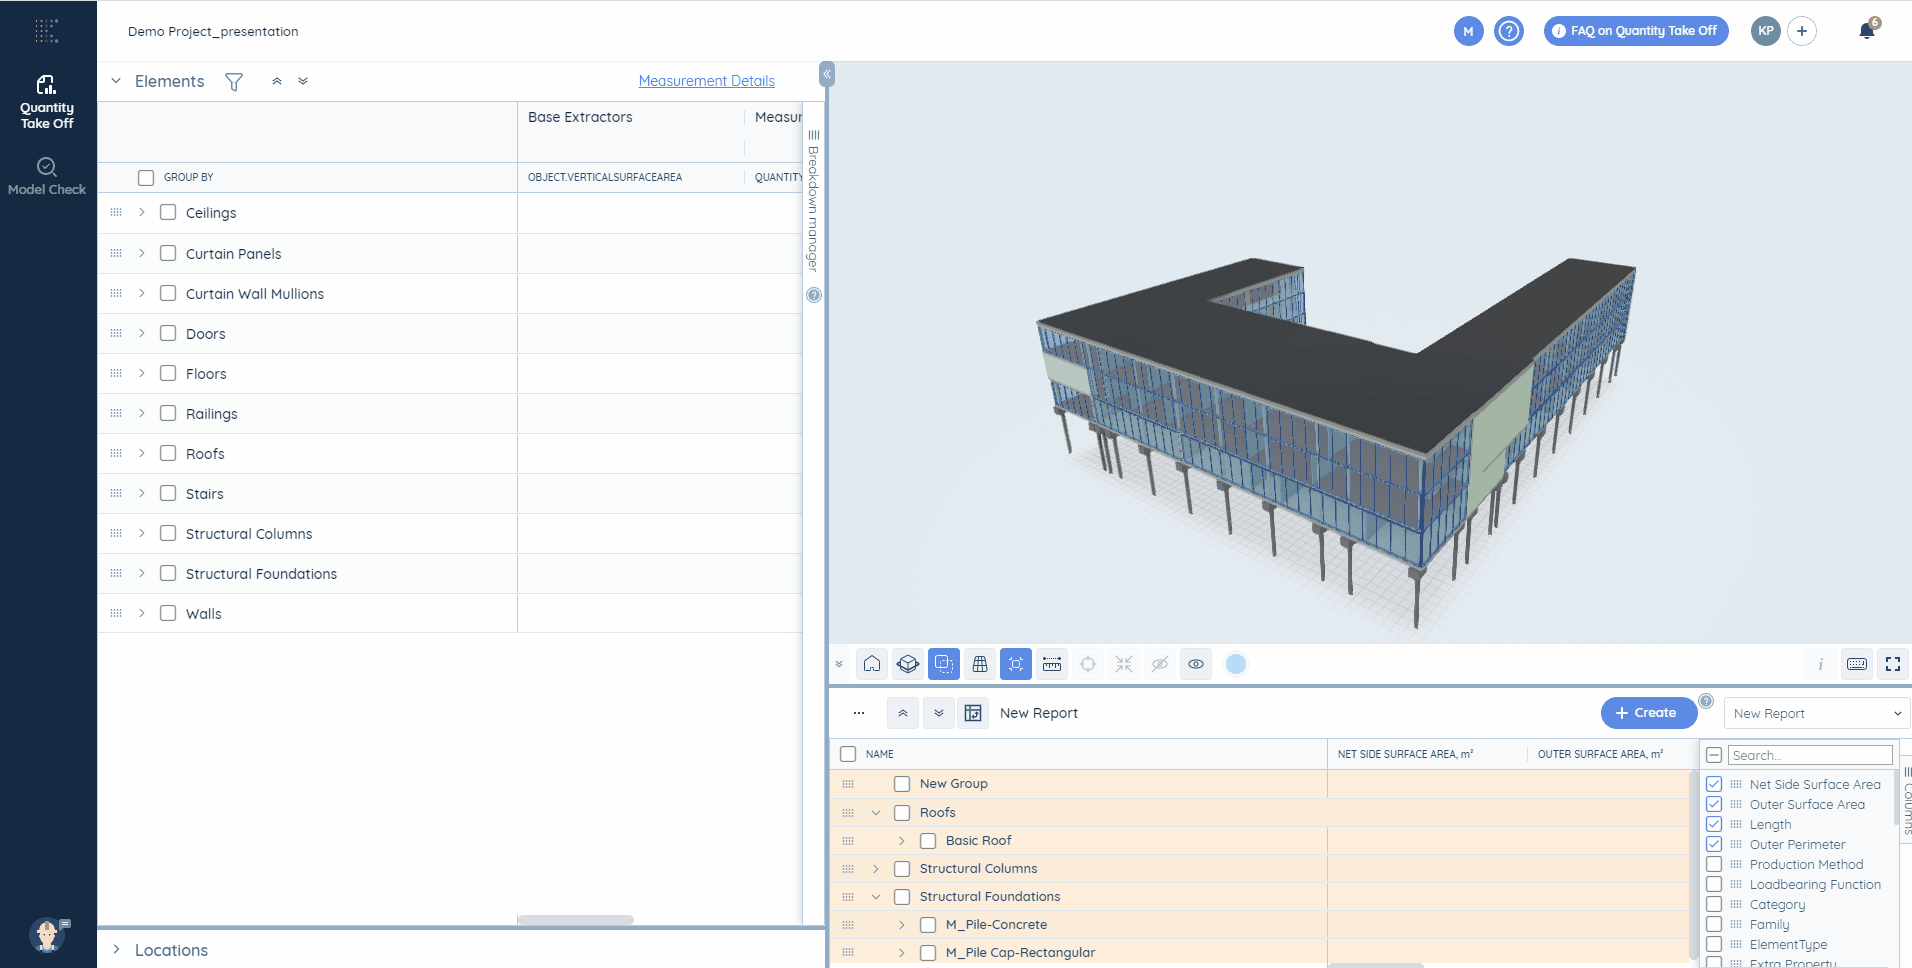
In 3D you can discover elements' properties, see the measurements for each element of your BIM model, modify the model's size to the appropriate side or level, zoom on one specific element, reduce your model to the required piece, etc.
3. Now let's cover the Model Check stage. Check a model for mistakes made by users when preparing a project manually in several clicks if there's such need.
We can also divide it into several working areas for our convenience:
Issue list, where you can download the report, in which Kreo team highlights your errors and how to fix them.
Requirements guideline for Revit model.
View issues, where you can check whether your model has any issues that may affect your Quantity Take Off.
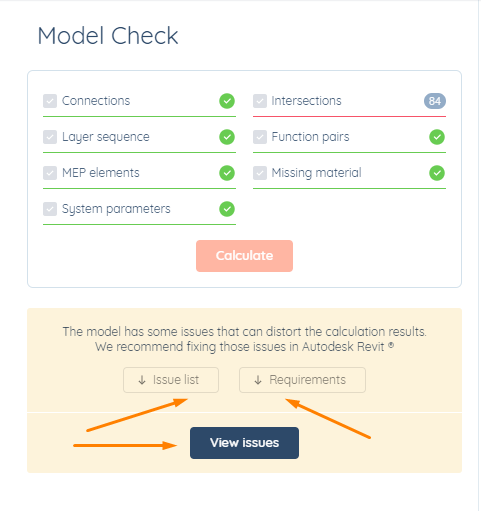
📝Note! You can fix all the issues with the help of our Model Fixer plugin.
How to do everything listed above?