Auto Count is an AI-powered tool that automatically counts elements in a drawing similar to a specified reference. It streamlines the process and minimizes errors, especially when similar objects have slight size differences that are hard to detect by the human eye.
Auto Count works for both geometrical and text elements.
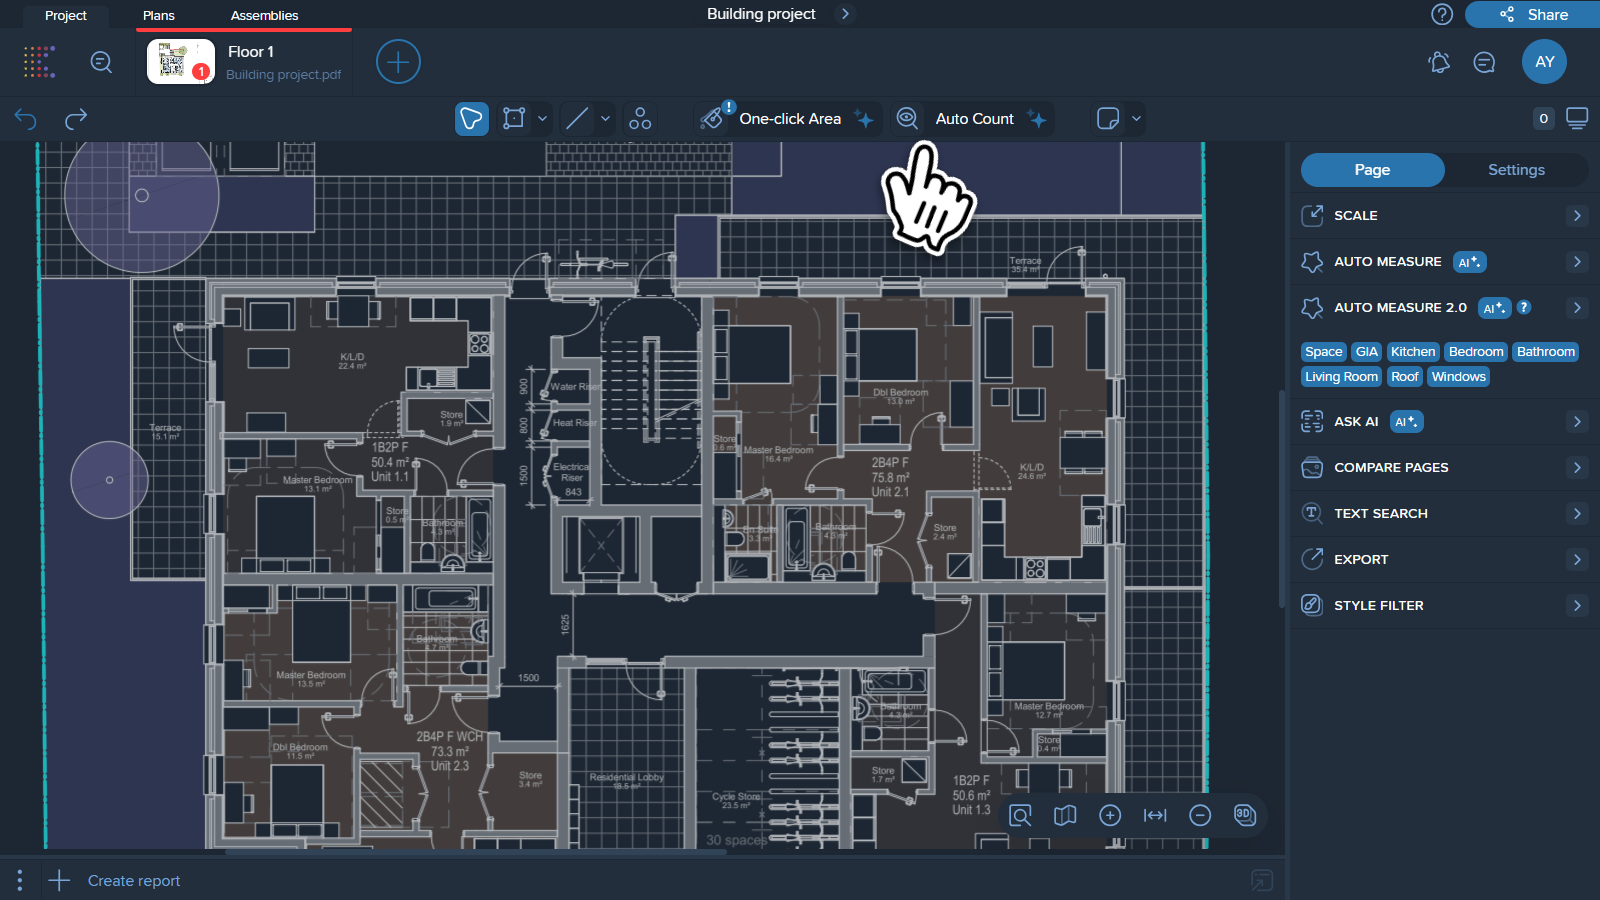
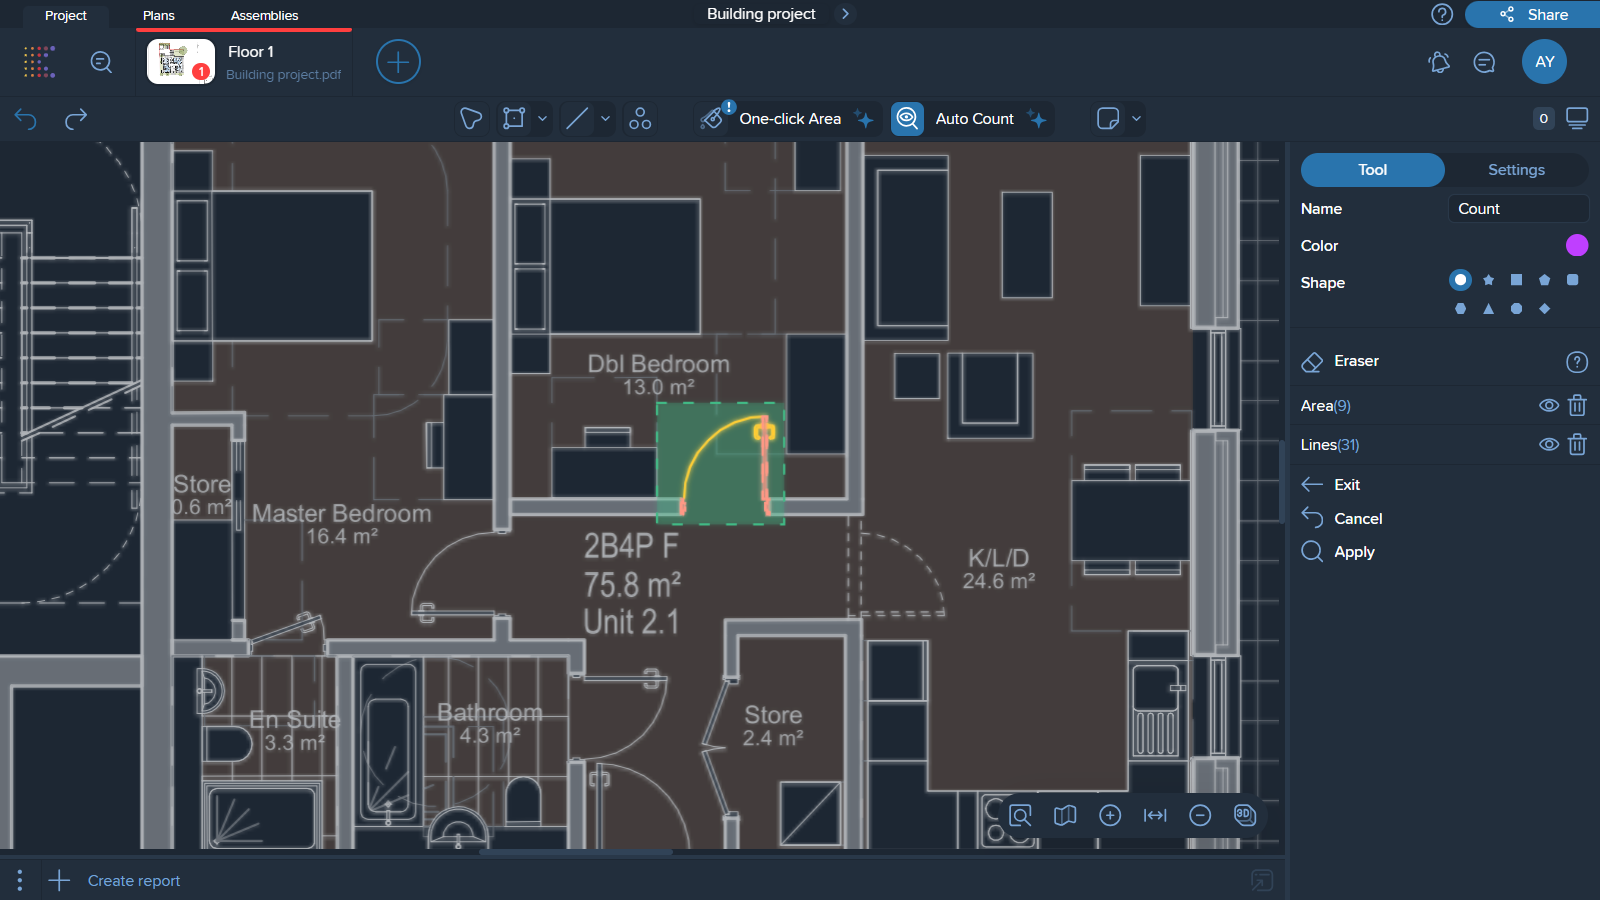
1. Locate the Auto Count tool and click on it.
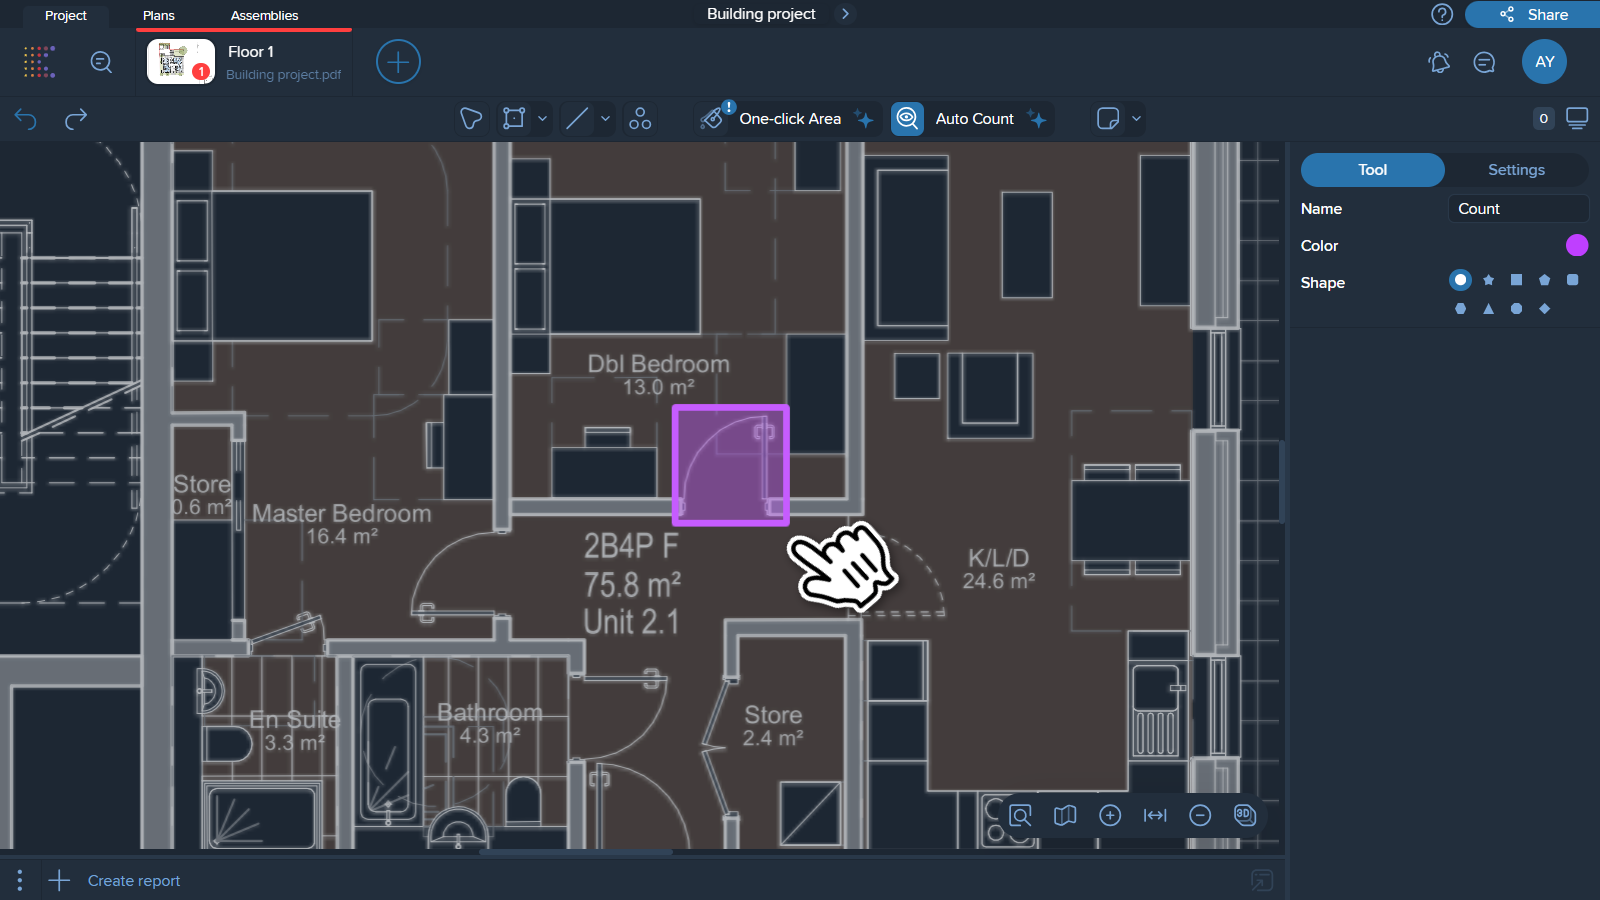
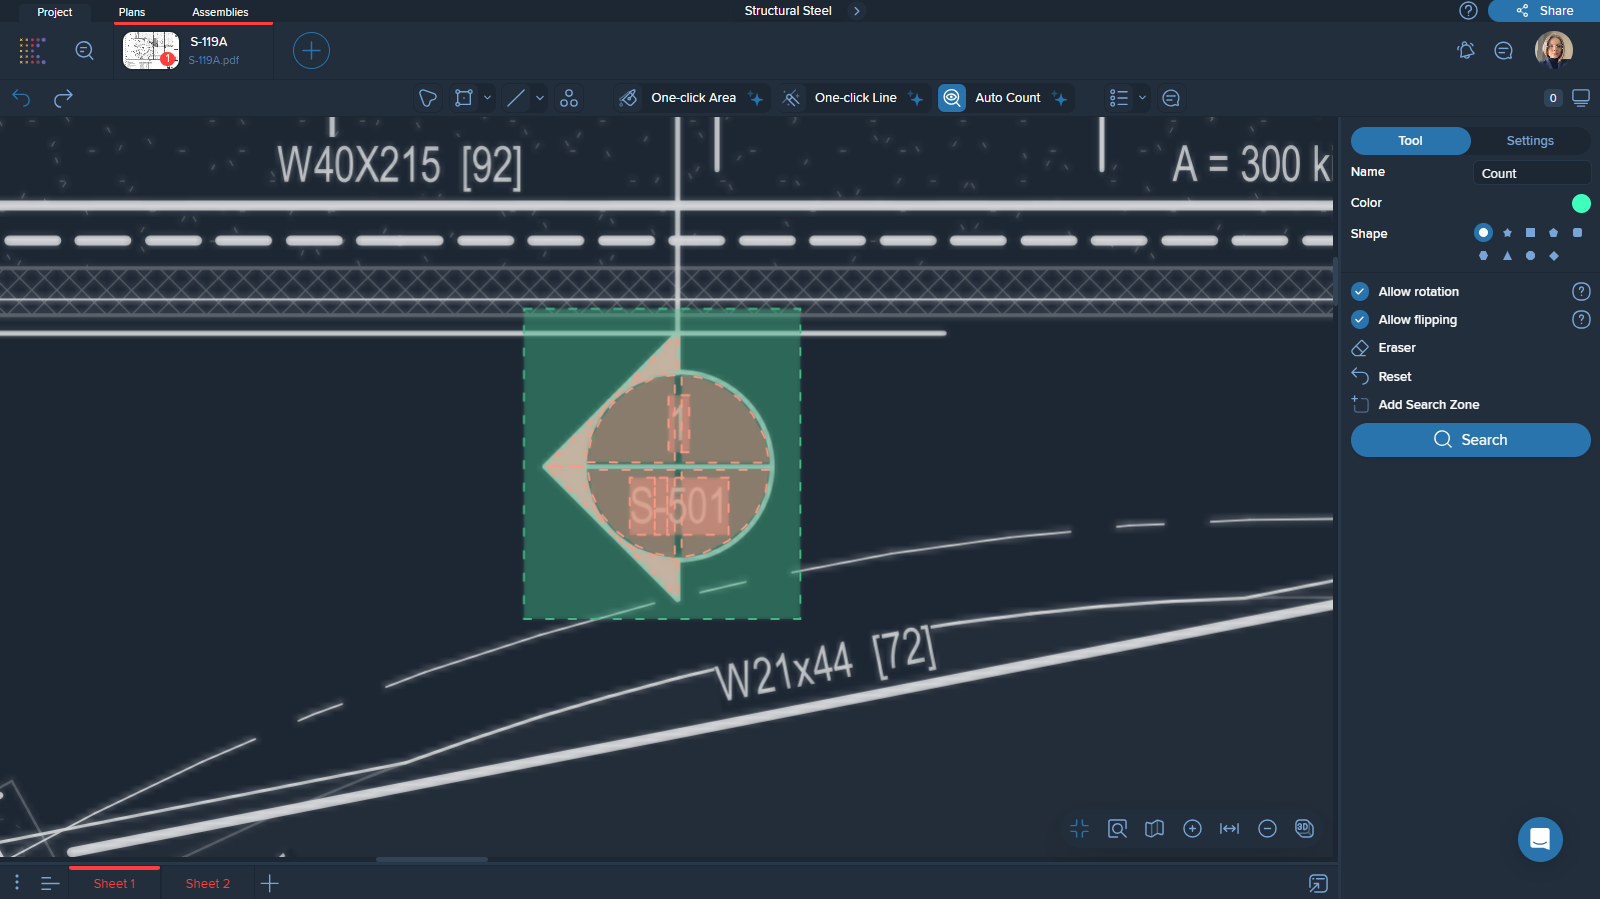
2. Enter the name of the measurement, then select the color and shape from the menu on the right side of the screen. Then select the area or element you need to count.
3. The next step is to remove any cluttering geometry that could affect the search. The clearer the reference, the more precise the results will be. To do this, click on the ‘Eraser’ and use it to remove any geometry that shouldn’t be included in your search.
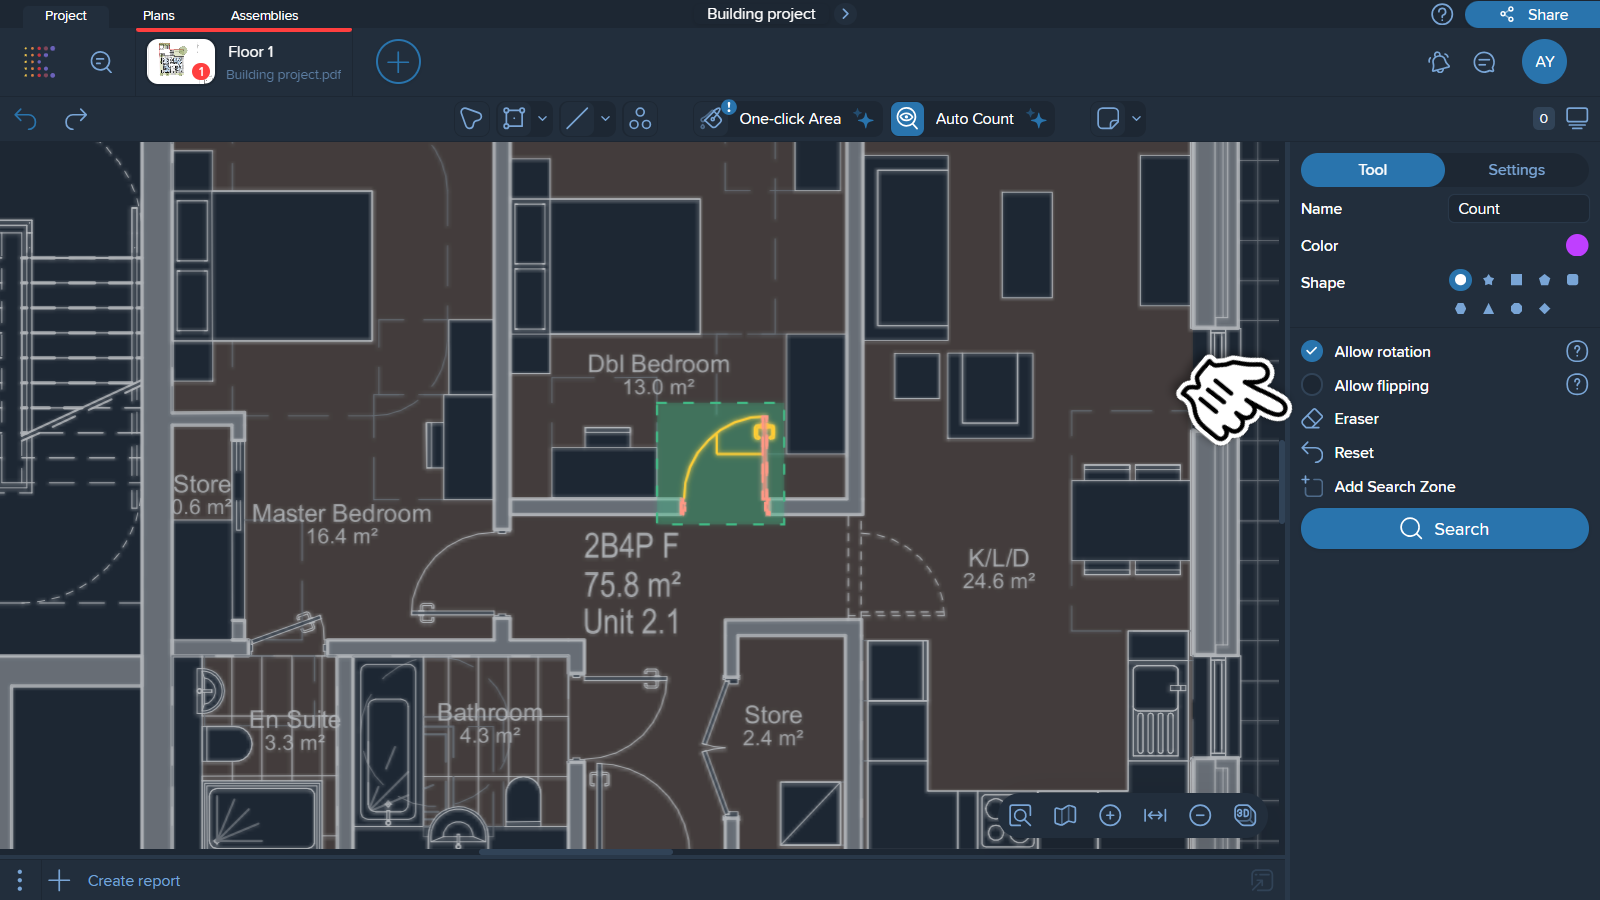
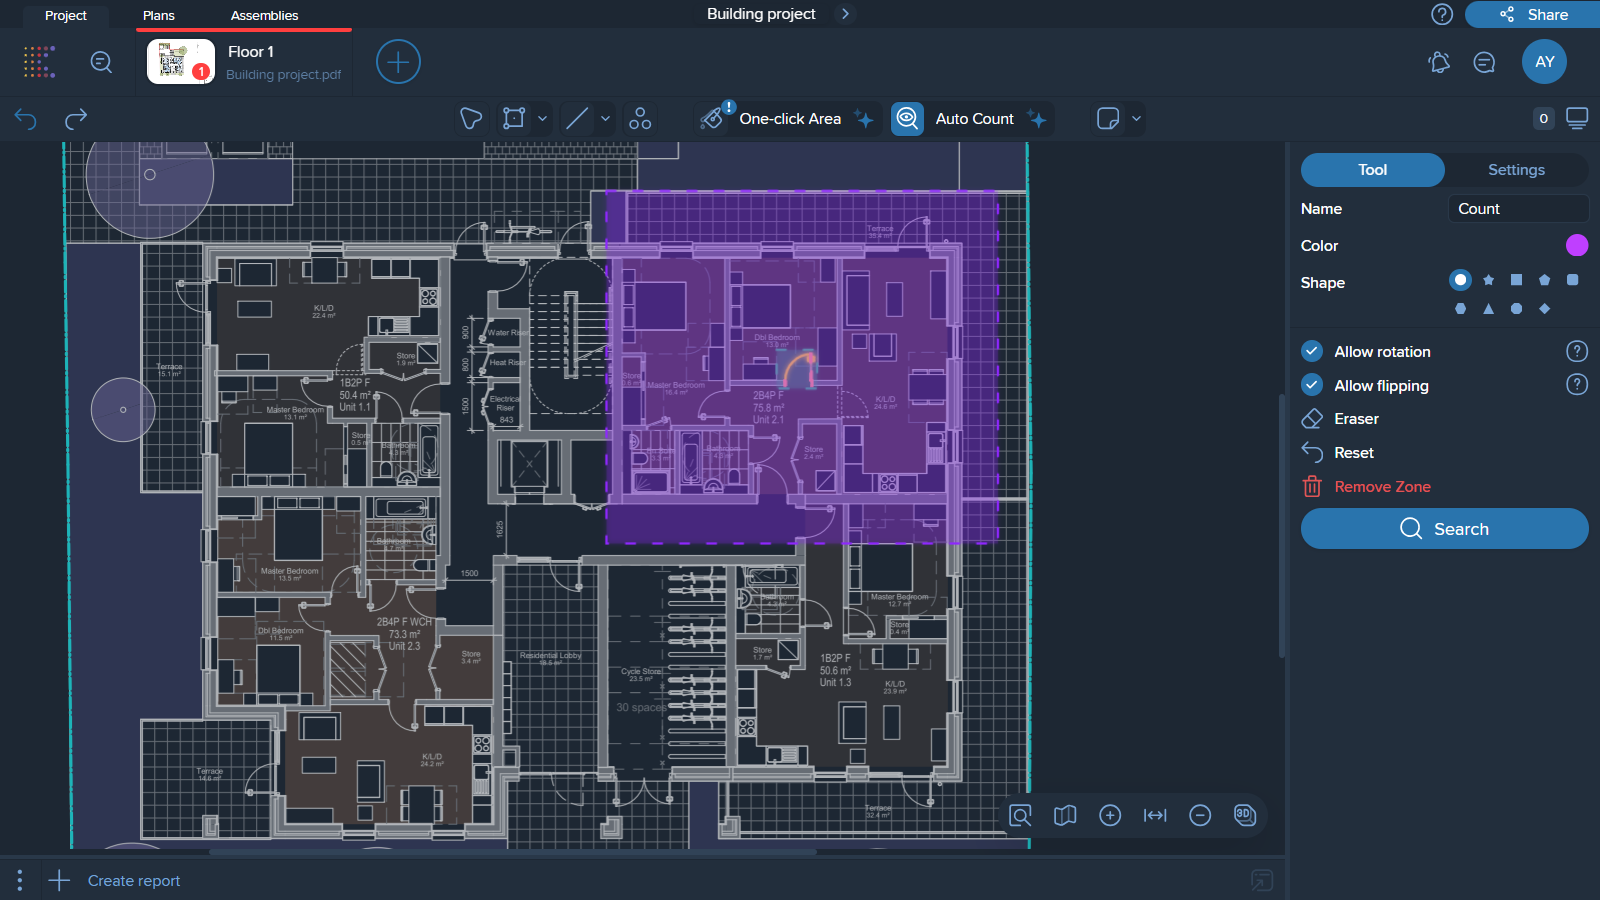
4. It's important to adjust certain settings before starting the search to achieve better results. You may need to allow rotation and flipping, as this is often necessary to locate all required elements, especially if they are positioned at different angles.

If you only need to search a specific area rather than the entire drawing, click on 'Add Search Area' and define the exact area you want to focus on.
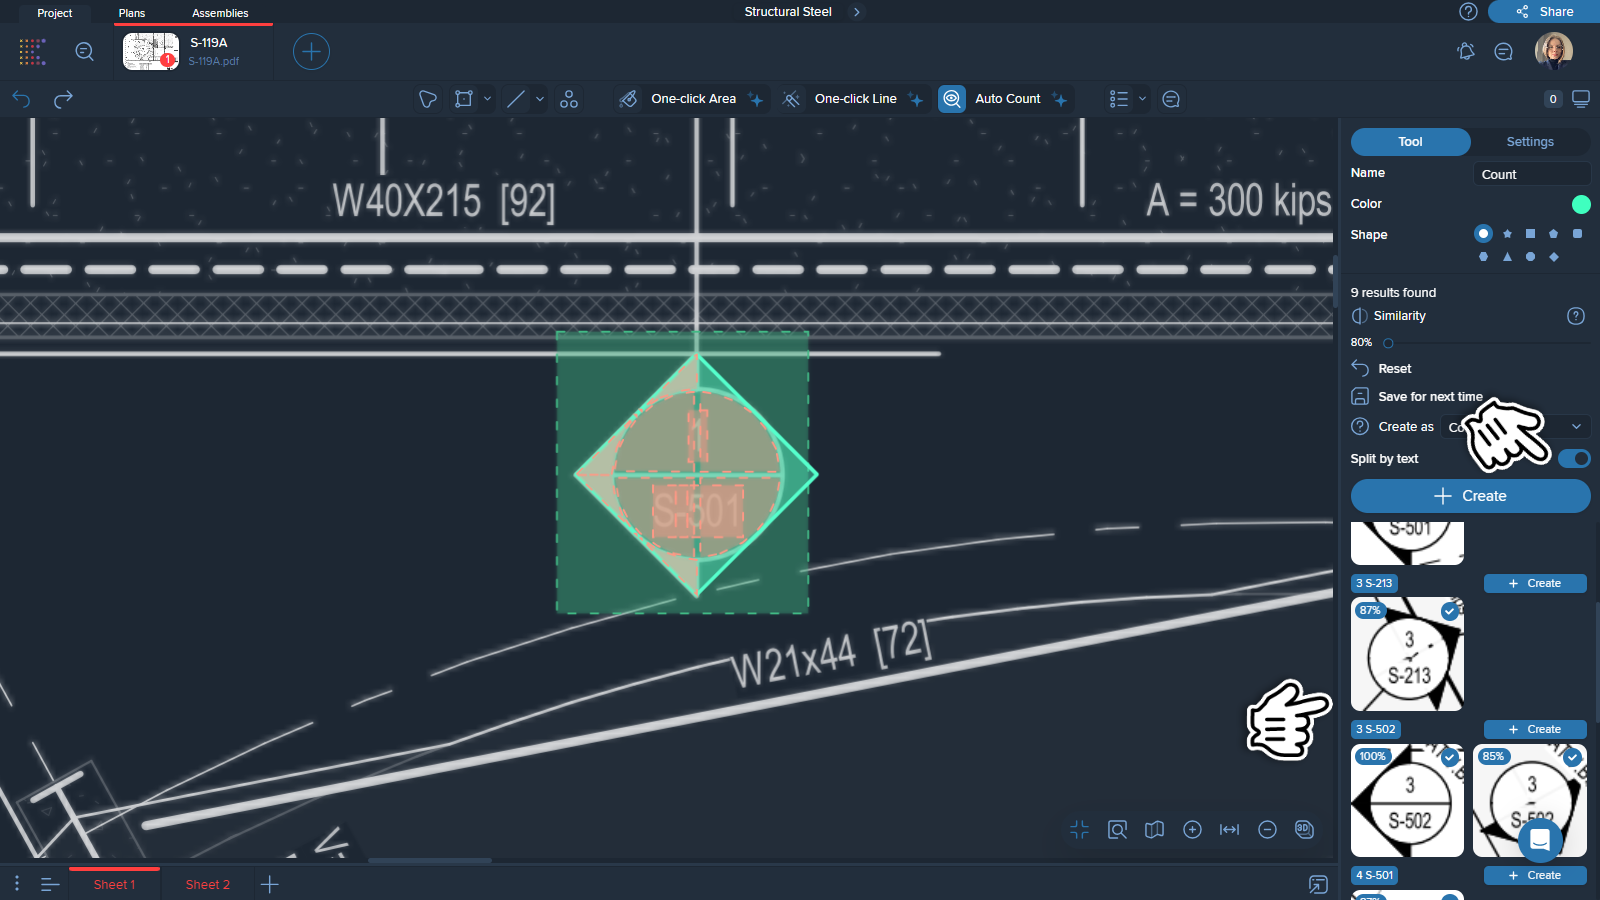
5. After setting all the necessary parameters, simply click the ‘Search’ button.
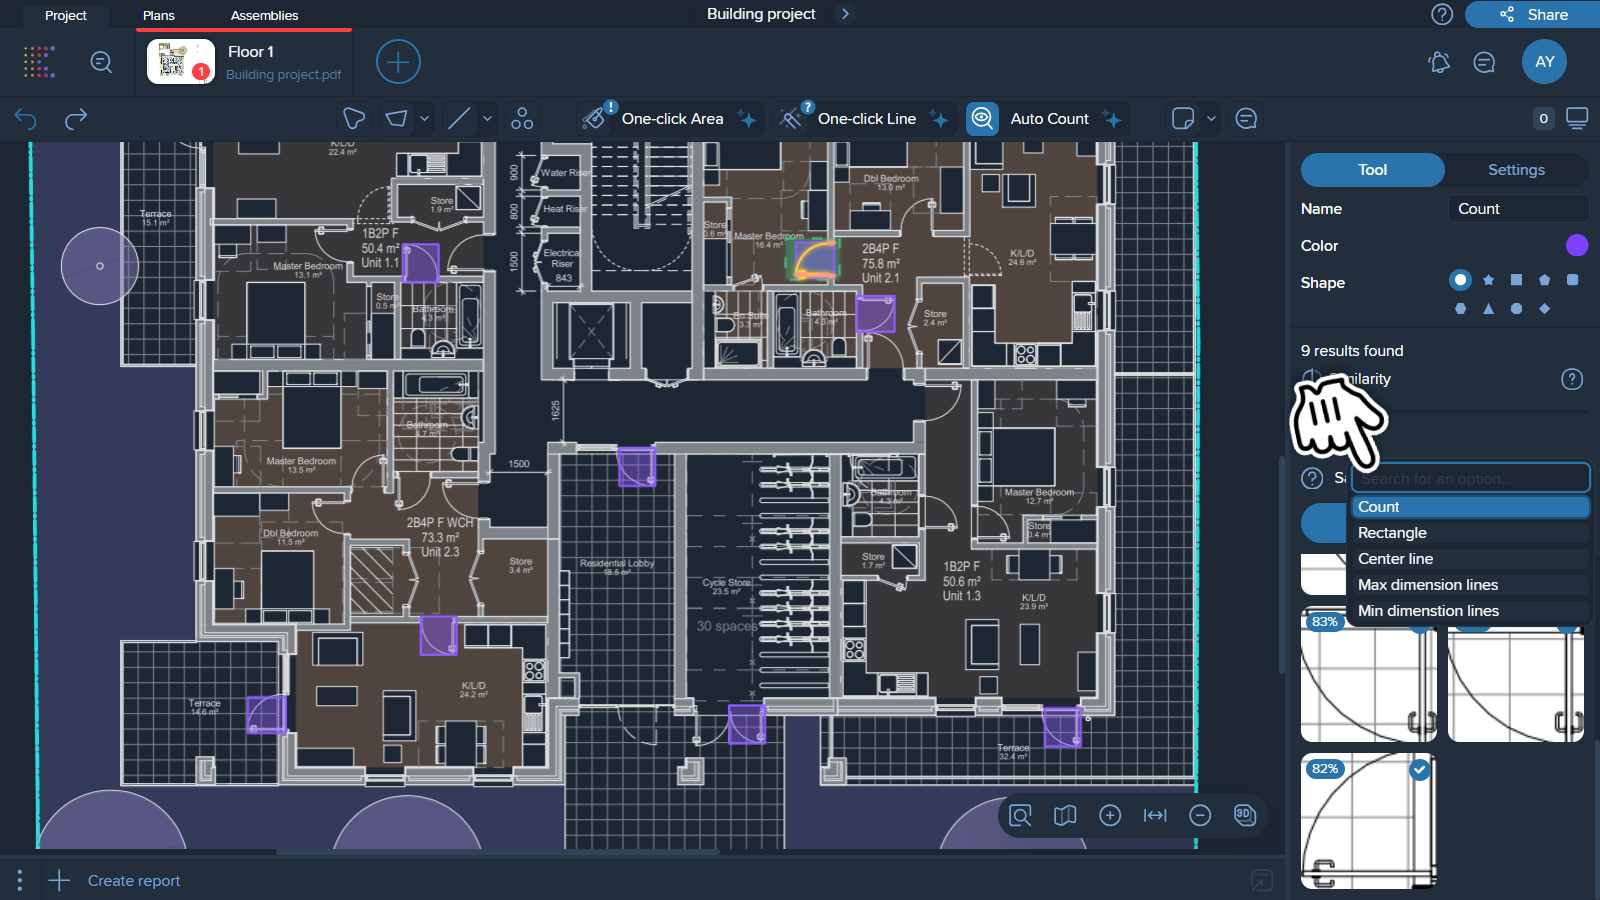
It’s important to verify the results of the search before creating the final count measurement.
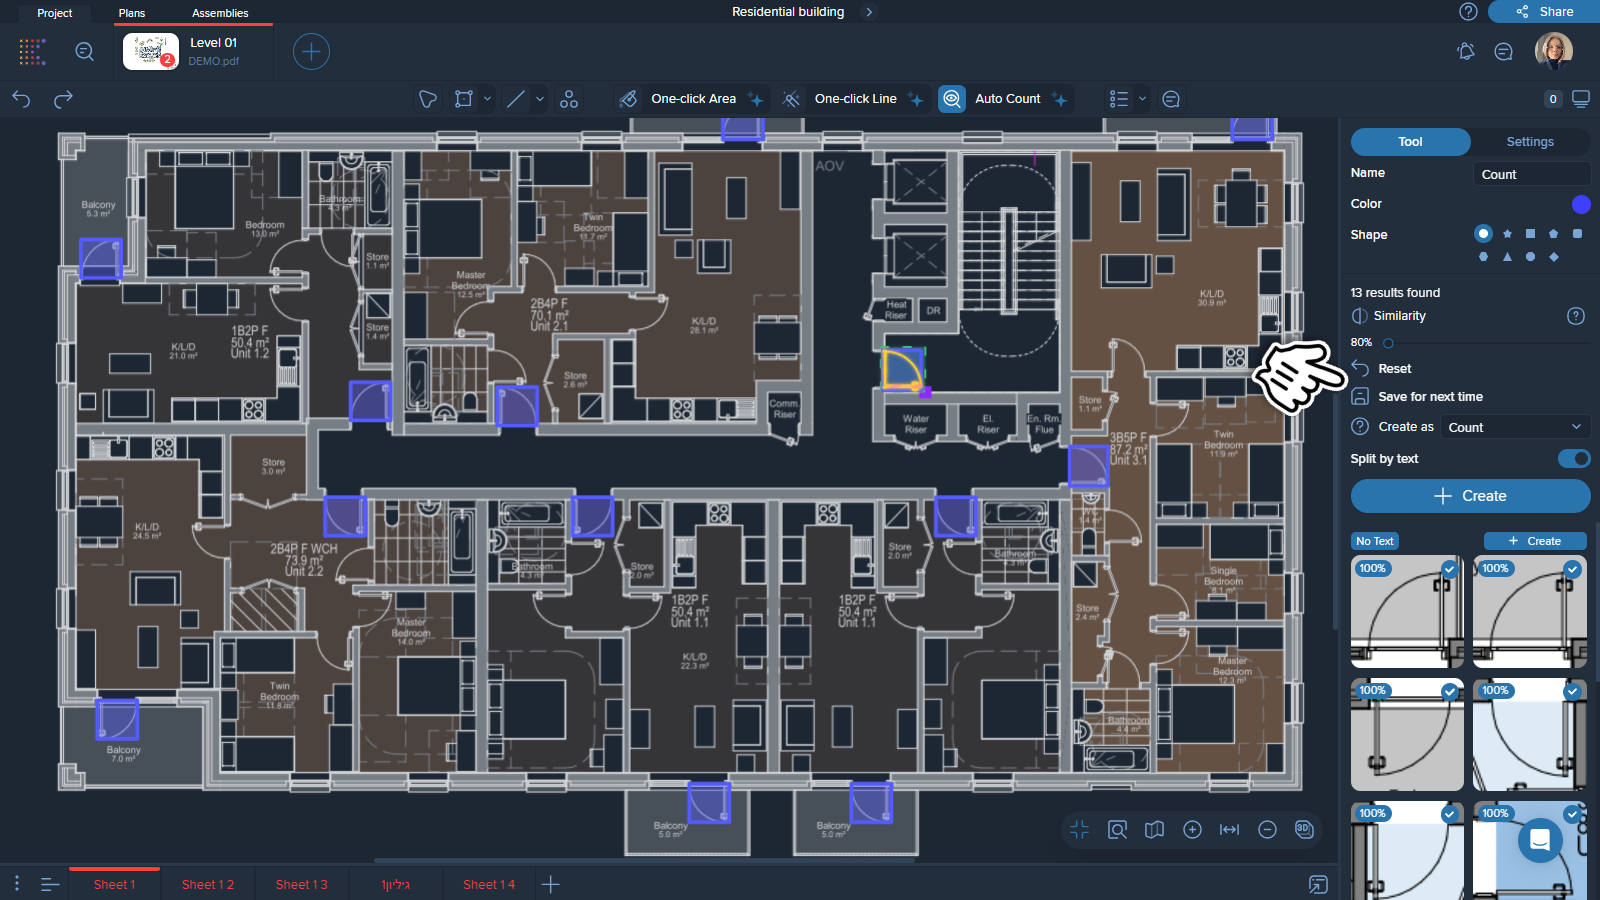
On the right side of the screen, you will see all the found elements zoomed in, with the similarity percentage displayed on them. If any of these elements are unnecessary, simply unselect them.
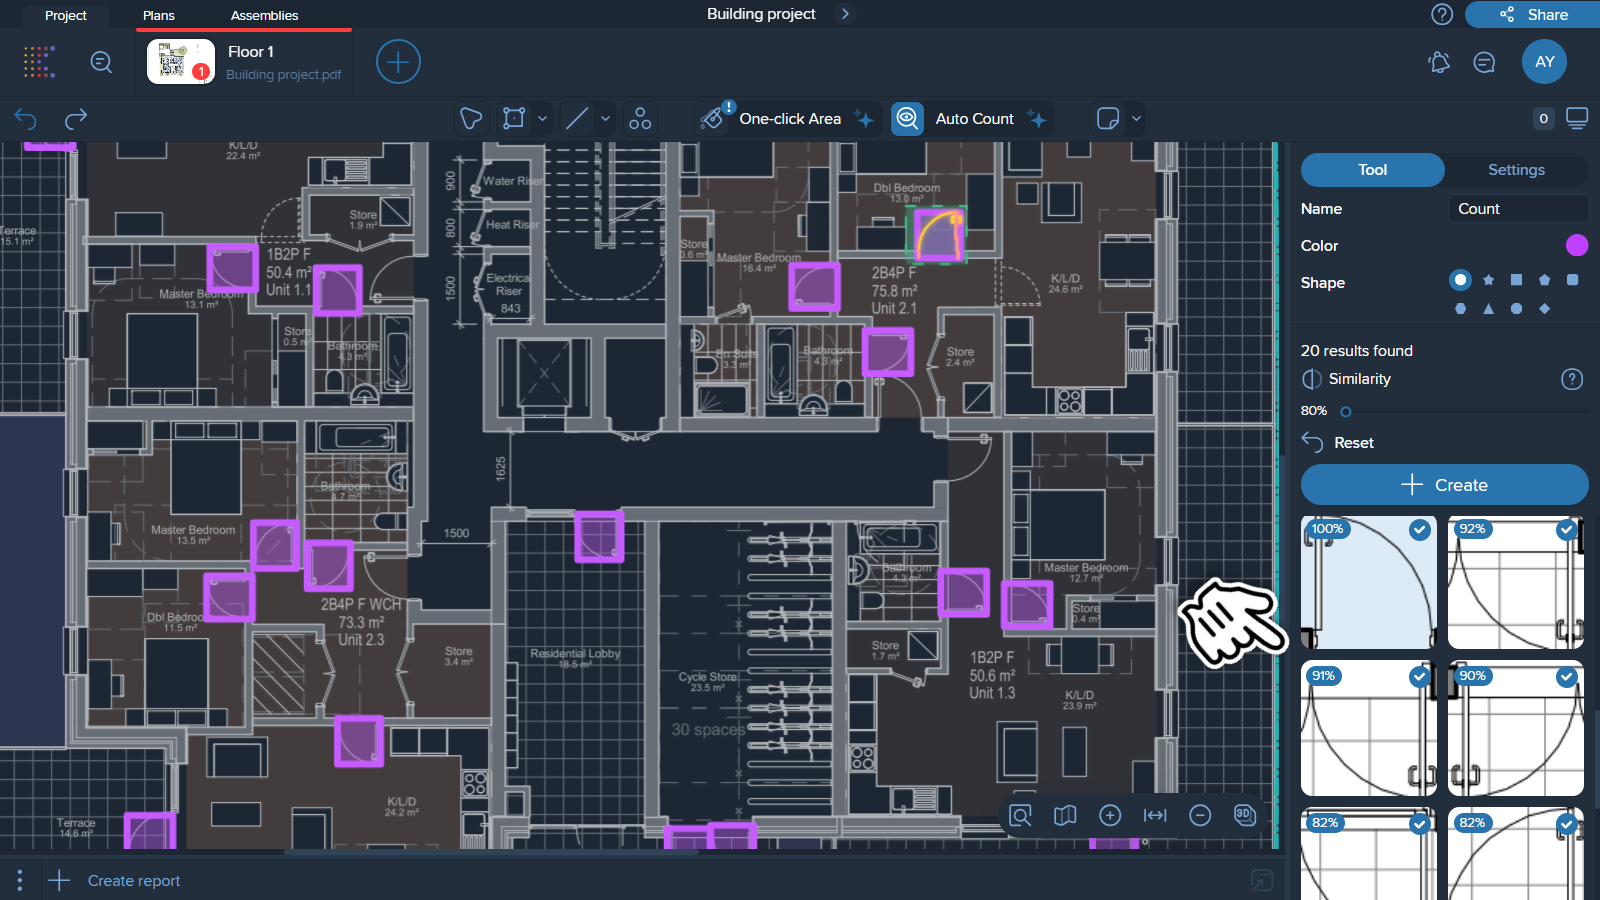
You can also adjust the results by dragging the ‘Similarity’ slider.

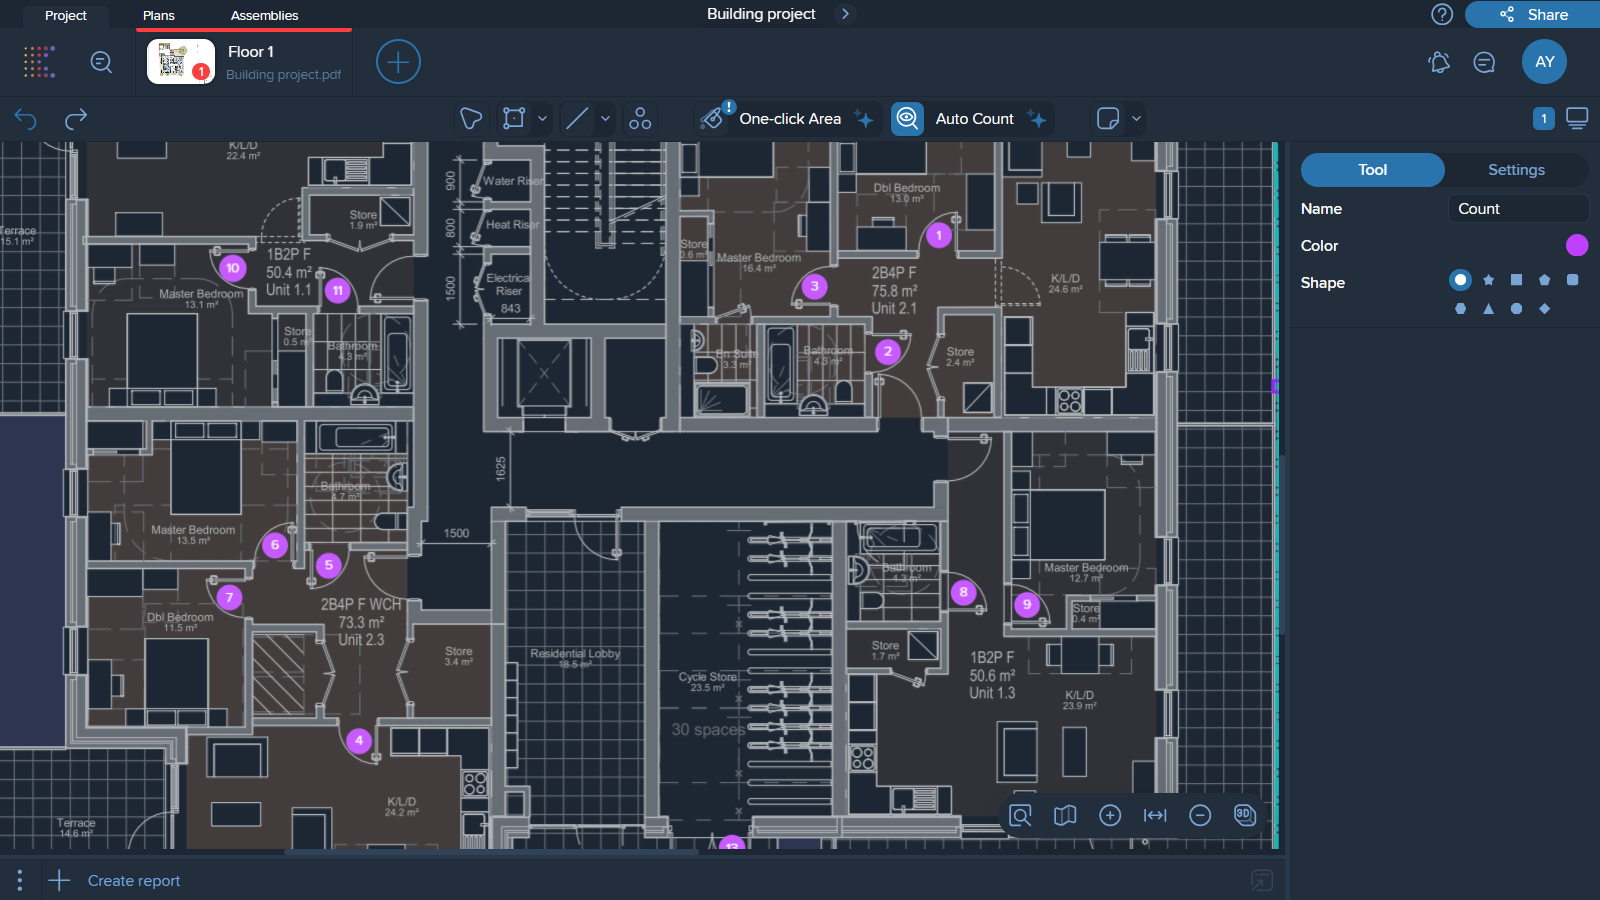
After adjusting the results, click ‘Create,’ and the elements will be automatically counted.
The 'Split by Text' feature in Auto Count allows you to classify results based on the text within the geometry you’ve selected.
This works well with labeled elements—if your elements have geometry containing text, you can select the geometry, run a search, and then use 'Split by Text' to create separate count measurements for identical elements with different text labels.
1. Select the geometry as usual, use the Eraser tool if needed, then run Search.
2. Once the results appear, choose Split by Text.
3. All elements with different text will be created as different measurements.
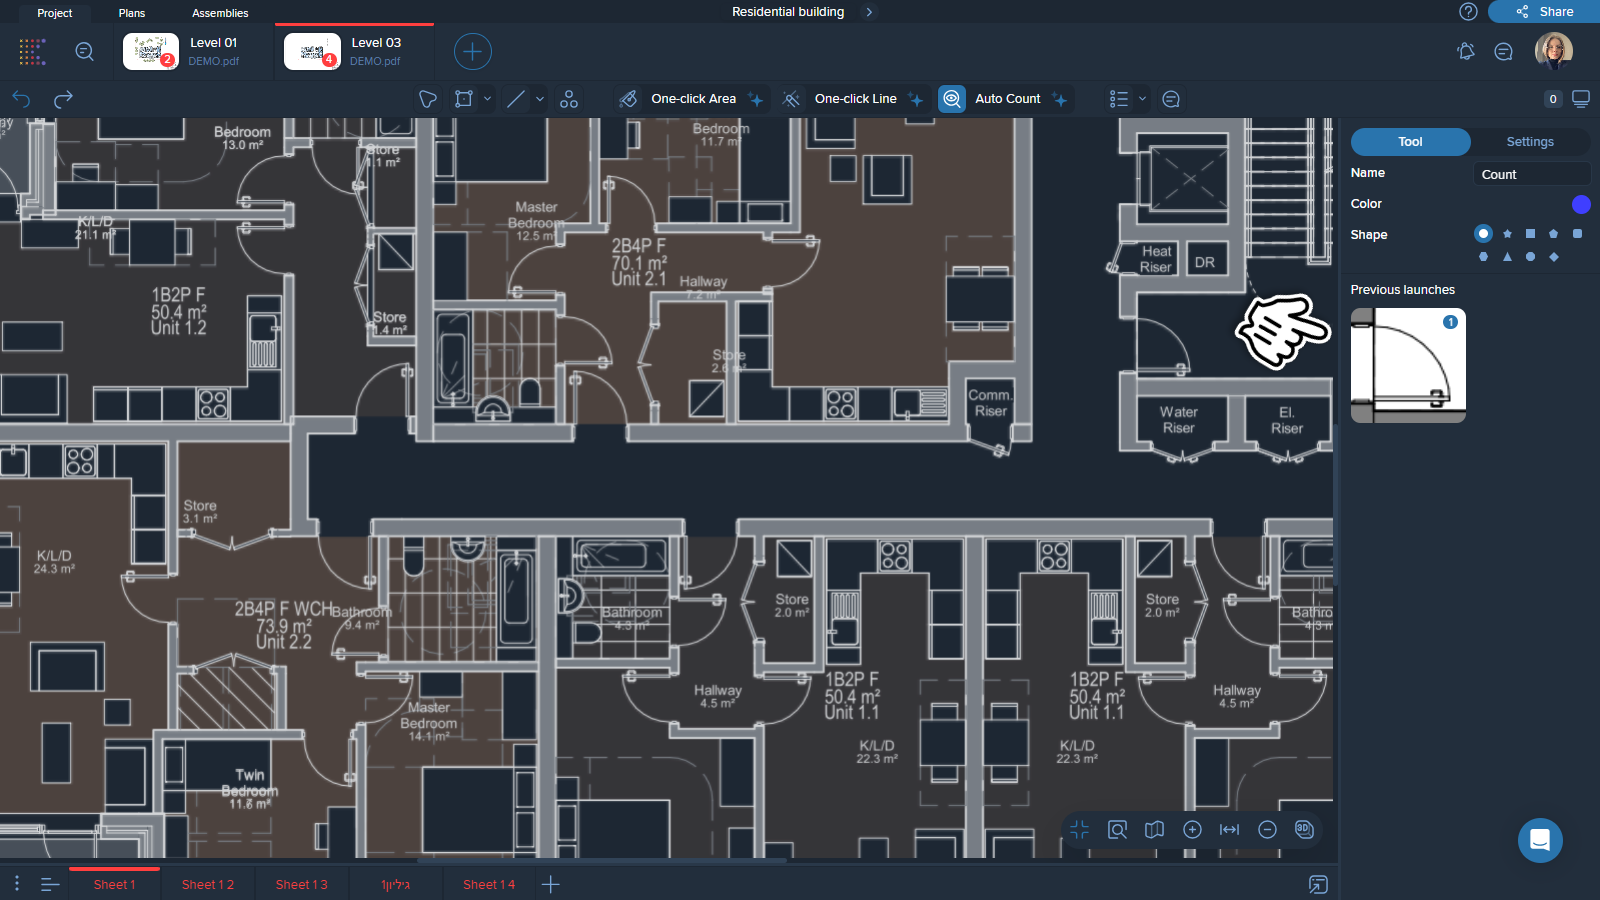
‘Save for next time’ is a feature that simplifies searches across multiple pages. It allows you to save an element and use it to search on other pages.
1. Select the geometry as usual, use the Eraser tool if needed, then run Search.
2. Once the results appear, choose Save for next time.
3. On any other page, you can find this saved element in the menu on the right side.
Click on the saved element to start the search.
You can choose how your results will be saved. They don’t necessarily have to be count measurements.
Click 'Save as' and select the measurement type from the list:
Count
Rectangle
Centerline
Min/Max dimension lines